While there are many excellent text editors available for Mac, developers often require more advanced features like syntax highlighting, code folding, bracket matching, and smart code completion. Unfortunately, the number of Mac tools offering these capabilities is relatively limited. And with Microsoft’s decision to discontinue Visual Studio for Mac, that list has grown even shorter.
It’s no surprise, then, that some Mac users—especially those familiar with Windows—look for ways to use popular Windows-based editors like Notepad++ on macOS. The good news? Even though Notepad++ doesn’t have an official Mac version, you can still run it on your Mac. In this guide, we’ll show you exactly how to download and install Notepad++ on your Mac step by step.
Introduction to Notepad++
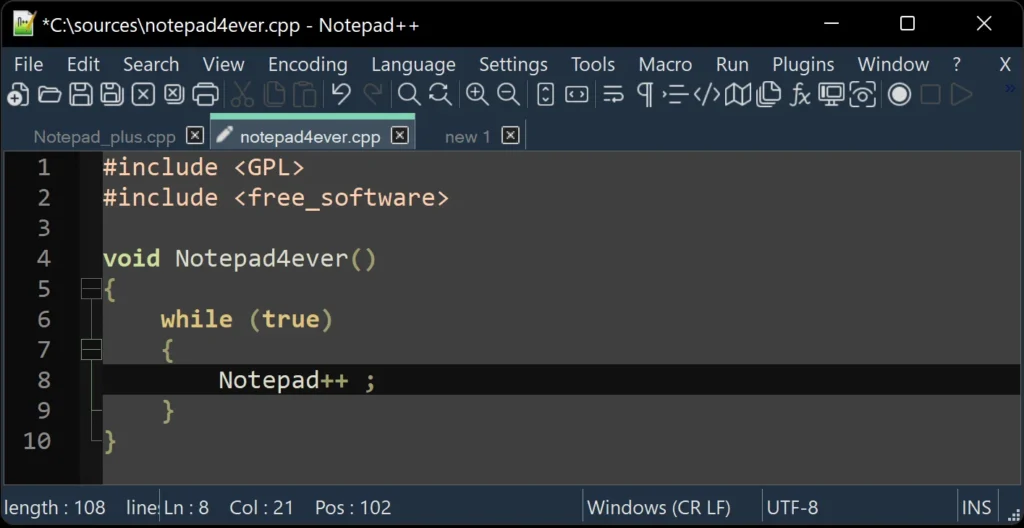
Notepad++ is a free and open-source text and source code editor originally developed for Windows. It features a tabbed interface, making it easy to work with multiple files in a single window. With support for syntax highlighting, code folding, and basic autocompletion, Notepad++ offers powerful functionality for developers. For a long time, it held the title of one of the most popular and widely used text editors among Windows programmers.

Is Notepad++ Available for Mac?
Notepad++ does not have a native version for macOS. However, there are several workarounds that allow you to run it on your Mac without much hassle.
Tip: Get your Mac ready for Notepad++
Installing Notepad++ on a Mac requires the use of additional software, so it’s a smart move to prepare your system beforehand. This includes clearing out junk files, scanning for malware, optimizing performance, and tidying up unnecessary clutter. One of the fastest and most efficient ways to do this is with the Smart Scan feature in CleanMyMac. With just one click, it checks your Mac for system junk, security threats, duplicate downloads, performance tweaks, and available app updates. In just a few more steps, you can clean up your Mac and proceed with the Notepad++ installation, confident that your system is running smoothly and efficiently. You can download CleanMyMac for free here.
Downloading and Installing Notepad++ on a Mac
There are multiple methods available for installing Notepad++ on your Mac.
- If you’re using an Intel-based Mac and have a Windows license, one option is to use Boot Camp Assistant to create a separate partition, install Windows on it, and then run Notepad++ natively within that environment.
- Alternatively, you can use Parallels Desktop to set up a virtual Windows machine on your Mac, allowing you to install and use Notepad++ without rebooting.
- Another option is to use a compatibility layer through apps like CrossOver or Porting Kit, which let you run Windows applications like Notepad++ directly on macOS without needing a full Windows installation.
Among these options, using Porting Kit is the easiest and also free. In contrast, Parallels Desktop and CrossOver require purchasing a license. Additionally, Boot Camp is only available on Intel-based Macs and requires a valid Windows license.
Porting Kit
Let’s begin with the easiest method—and the best part is, it’s completely free.
- Visit the Porting Kit website and click the Download button.
- After the download completes, open Porting Kit and select All Apps from the sidebar.
- If you see Notepad++ listed, click on it. If not, use the search bar at the top right to find Notepad++, then click Install.
- Porting Kit will automatically download and install Notepad++ along with any required dependencies. It will then launch the Notepad++ Windows installer.
- Once the installation is complete, you’ll find Notepad++ in the Installed section of Porting Kit. It will also appear in your Applications folder, and you can open it using Spotlight search or Launchpad.
CrossOver
- Visit the CodeWeavers website and download either the free trial or full version of CrossOver. The trial is fully functional but only lasts 14 days.
- After installing CrossOver, click the Install button and search for Notepad++.
- Select Notepad++ from the results and click Install.
- Wait for CrossOver to download and complete the installation.
- Once finished, you can launch Notepad++ through CrossOver, your Applications folder, Spotlight, or Launchpad.
Parallels Desktop
This option is best suited for users who already have Parallels Desktop or another virtualization tool like VMWare Fusion installed on their Mac. If that’s the case, simply follow the steps below.
- Open Parallels Desktop and launch a web browser within the Windows environment.
- Go to the Notepad++ GitHub page.
- If you’re using a Mac with Apple Silicon, download the file named Installer.arm64.exe. For Intel-based Macs, download Installer.x64.exe.
- After the download is complete, run the installer to begin the installation process.
- Once installed, you can launch Notepad++ from the Windows Start menu. Depending on your Parallels Desktop settings, you might also be able to access Notepad++ directly from your Mac.
Boot Camp
If you’re using an Intel-based Mac and have a Windows installer on a USB drive or external hard drive, follow these steps:
- Open Boot Camp Assistant by navigating to Applications > Utilities.
- Follow the on-screen prompts to create a Boot Camp partition and install Windows.
- After Windows installation is complete, restart your Mac while holding down the Option key.
- Select the Boot Camp partition as your startup disk.
- Once Windows boots up, open a web browser and follow steps 2 through 5 from the previous instructions.
macOS offers many excellent text editors, but if you’re a fan of Notepad++ you might be disappointed to learn there’s no native Mac version. Fortunately, that doesn’t mean you can’t use it on your MacBook. Thanks to smart solutions like compatibility layers and virtualization, running Notepad++ on macOS is still possible. Simply choose the method that suits you best from above, and follow the steps to download and install Notepad++ on your Mac.