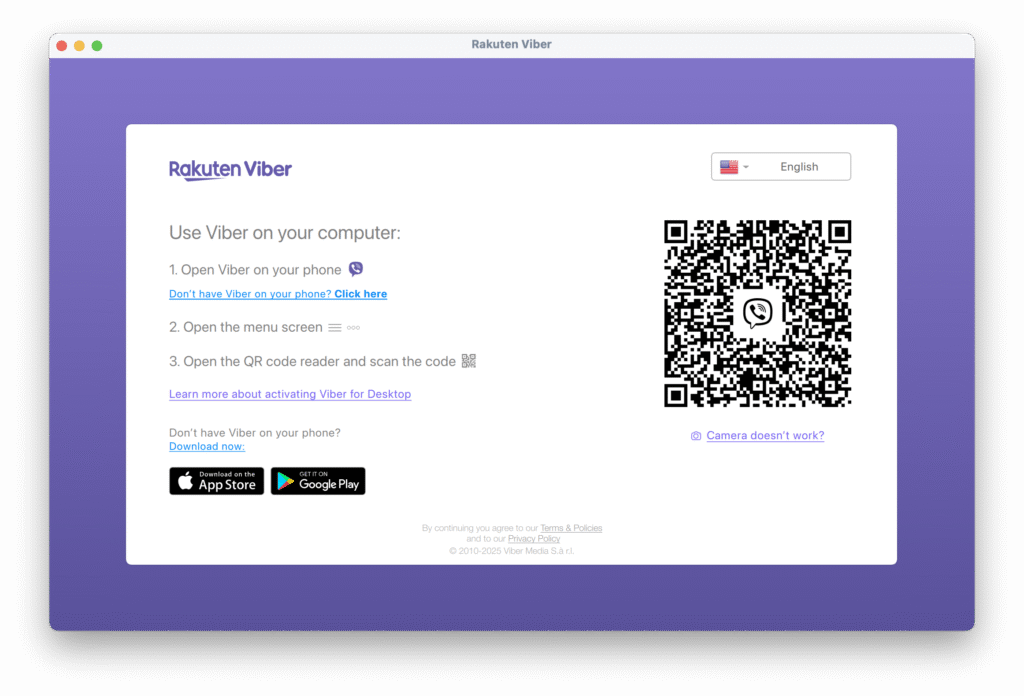
Viber, launched in 2010, experienced rapid growth and was acquired by Japanese electronics and e-commerce giant Rakuten in 2014 for $900 million. Under Rakuten’s ownership, the platform continued to evolve and expand its user base.
Just before becoming part of the Rakuten group, Viber introduced web-based versions, allowing users to send messages and make calls directly from their PCs and Macs. For those who rely on messaging apps like Viber, Facebook Messenger, or WhatsApp, having the ability to chat from a Mac while multitasking is both convenient and efficient. In this tutorial, we’ll show you how to download and use Viber on your Mac.
Installing Viber on Mac: What You Need to Know
Whether you’re using an older version of Mac OS X or the latest macOS, Viber is compatible and easy to set up on your Mac.
To get started, you’ll need an active Viber account and the app installed on your smartphone (iOS or Android). Make sure to have your phone handy, as it’s required to complete the setup process. Follow the steps below to download and install Viber on your Mac:
- Visit the official Viber website and click on Download for Mac.
- Once the
.dmgfile is downloaded, open it and drag the Viber icon into your Applications folder. - Open Finder, navigate to Applications, and locate Viber.
- Launch Viber and follow the on-screen instructions to complete the installation.

Viber will send you a text message with an activation code to complete the final step of the setup. Once you receive the code, enter it, and you’re ready to start using Viber on your Mac. You can now enjoy the convenience of sending messages and making calls right from your desktop.
But what if Viber stops working or you decide to uninstall it? Don’t worry — we’ll walk you through those steps as well.
How to Remove Viber from macOS Safely
If you’re no longer using Viber — or if it’s not working properly — the best solution is often to uninstall it. In many cases, reinstalling an app can resolve persistent issues. There are two main ways to remove Viber from your Mac.
The first method is manual: go to the Applications folder, drag the Viber app to the Bin, and remove any shortcut icons from your desktop or Dock. After that, empty the Bin. To ensure all related files, including cached data, are fully removed, it’s a good idea to restart your Mac.
Another convenient way to uninstall Viber—or any other unwanted apps—is by using a Mac cleaning and maintenance tool like CleanMyMac. Here’s how to do it:
- Download the free trial of CleanMyMac.
- Install the app, open it, and navigate to the Applications section.
- Click Scan, then go to the Uninstaller tab and select the apps you want to remove.
- Click Uninstall to delete them completely from your Mac.
If you’re experiencing issues with Viber but want to keep using it, CleanMyMac can help you reset the app through the Applications feature. Click the arrow (>) next to Viber, select all its files (excluding Binaries), and click Remove. After the reset, Viber should run smoothly.
Now you know how to install Viber on your Mac and reset it if it’s not working properly.