Looking to install VS Code on Mac? Visual Studio Code (VS Code) is a powerful and easy-to-use code editor that works perfectly on MacBook.
With its clean interface and rich features, VS Code helps you write code faster and more efficiently. It supports a wide range of programming languages and is suitable for both beginners and experienced developers.
In this guide, you’ll learn how to download and install VS Code on Mac step by step. Follow along to get everything set up quickly and start coding on your MacBook in just a few minutes.
What is Visual Studio Code?
Visual Studio Code (VS Code) is a free, lightweight, and powerful source code editor developed by Microsoft. It supports a wide range of programming languages and provides essential tools for coding, debugging, and project management.
Although the free version of VS Code does not include every advanced feature found in some premium IDEs, it still meets the needs of most developers and competes strongly with other tools in the industry. Its flexibility and built-in features make it one of the most widely used code editors today.
Why Should You Use Visual Studio Code on MacBook?
Visual Studio Code didn’t become one of the most loved programming tools worldwide by chance. It offers a wide range of powerful features that make it stand out from many other editors and IDEs.
Here are some of its key advantages:
- Cross-platform support: Works smoothly on macOS, Windows, and Linux
- Multiple language support: Compatible with C/C++, C#, F#, JavaScript, HTML, CSS, and many more
- Lightweight: Uses minimal system resources while maintaining fast performance
- Powerful features: Includes smart IntelliSense for code suggestions and error reduction
- User-friendly interface: Clean and simple design, perfect for beginners
- Highly customizable: Supports a wide range of extensions to personalize your workflow
- Large community support: A massive global community with plenty of resources and tutorials
One of the biggest advantages is that Visual Studio Code is completely free. This makes it an ideal choice not only for developers but also for testers, data analysts, and anyone interested in programming.
With frequent updates and continuous improvements, Visual Studio Code remains one of the best tools for coding on MacBook today.
Step-by-Step Installation of VS Code on Mac
To install VS Code on Mac, follow the steps below to download the official installer and set it up quickly and safely.
Step 1: Download Visual Studio Code
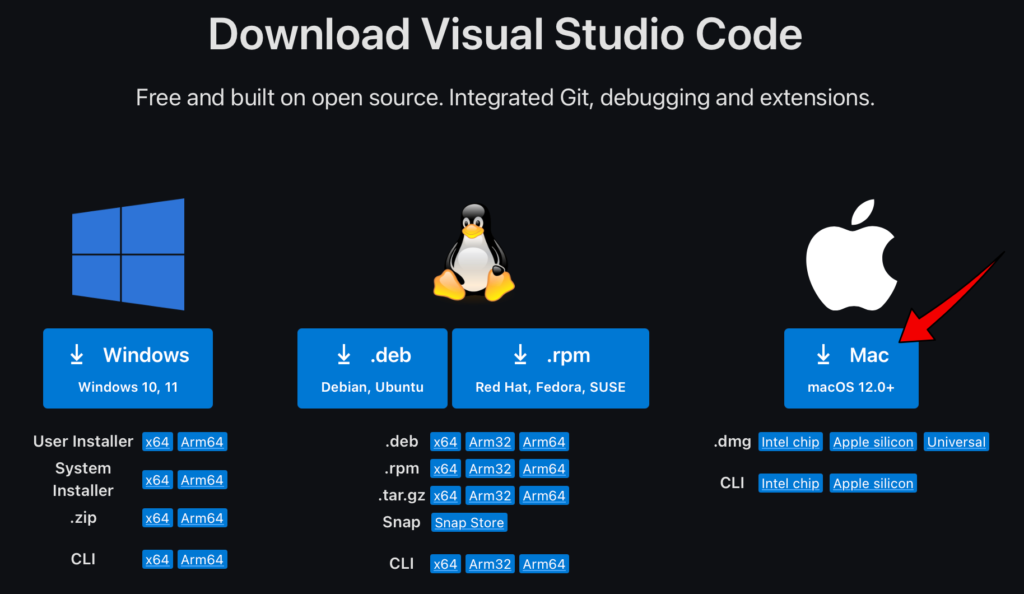
First, open your web browser (such as Safari, Google Chrome, or Firefox) and go to: https://code.visualstudio.com/download
Click the blue “Download for Mac” button located under the Apple logo.
Depending on your browser and security settings, you may see a prompt asking for permission to access your Downloads folder. Simply allow any permissions if prompted to continue the download.
Step 2: Install Visual Studio Code on Mac
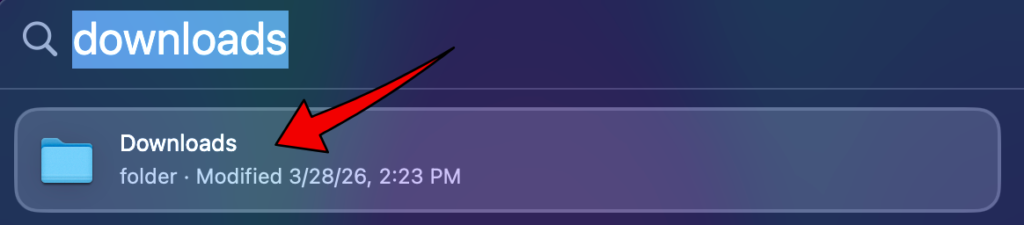
After downloading Visual Studio Code, press Command (⌘) + Space, type “Downloads”, and open the Downloads folder from the search results.
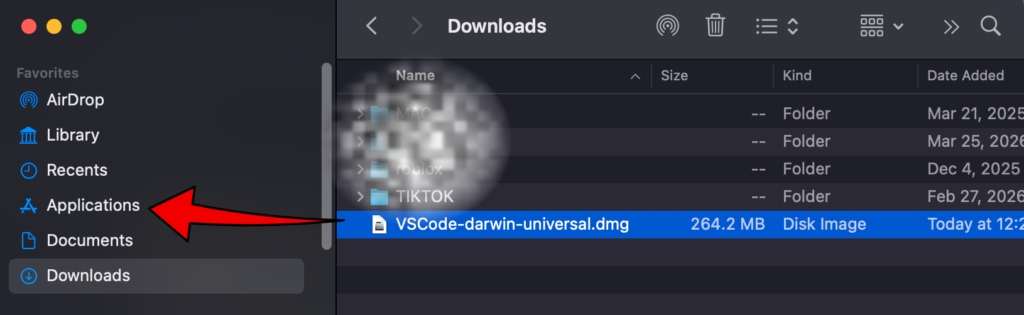
Click Downloads in the left sidebar of the Finder window, then locate the Visual Studio Code application file.
If you have trouble finding it, click the Date Added column to sort files by newest and quickly identify the latest download.
Click and drag the Visual Studio Code app into the Applications folder. This ensures the app is properly installed on your Mac.
Step 3: Open Visual Studio Code After Installation
Press Command (⌘) + Space to open Spotlight Search, then type “Visual Studio Code” and click on the VS Code icon from the results.

Alternatively, you can click the Launchpad icon in the Dock instead of using Spotlight Search.
You can either browse to find the Visual Studio Code icon or use the search bar at the top of Launchpad to locate it quickly. Once found, click the icon to open the app.
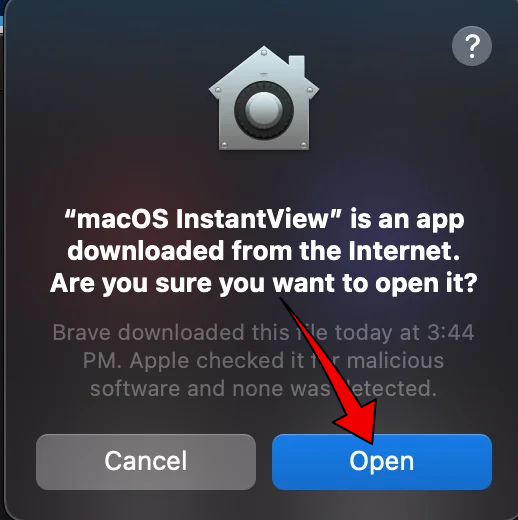
MacOS may show a security prompt asking you to confirm opening an app downloaded from the internet. Click “Open”to continue.
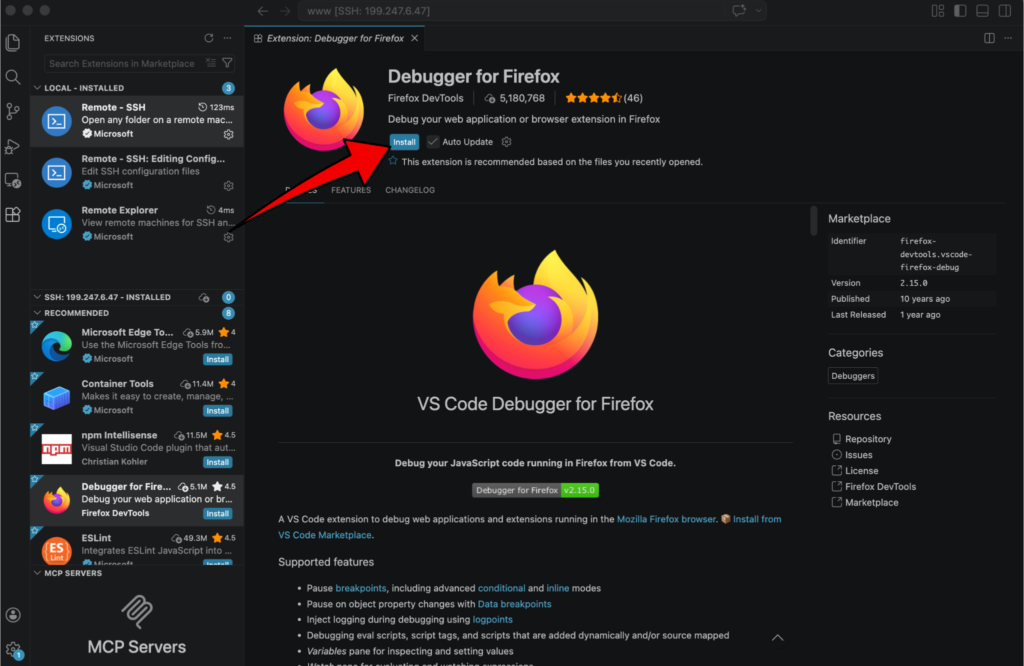
Step 4: Install Extensions (Optional but Recommended)
Visual Studio Code supports many extensions that improve functionality.
- Click the Extensions icon (four squares) on the left sidebar
- Search for extensions you want (e.g., programming languages, themes, debugging tools)
- Click Install to add them
After completing these steps, Visual Studio Code is ready to use on your MacBook.
VS Code is a powerful and flexible code editor. With the right extensions, you can customize it to fit your workflow and improve your coding experience.
If you run into any issues, feel free to check the official documentation or join the VS Code community for support.
Conclusion
Installing Visual Studio Code on Mac is quick and straightforward, even for beginners. With just a few simple steps, you can download, install, and start using one of the most powerful code editors available today.
VS Code offers a clean interface, strong performance, and support for a wide range of programming languages. Whether you’re learning to code or working on professional projects, it’s a great tool to have on your MacBook.
Now that you know how to install VS Code on Mac, you’re ready to start coding and explore its powerful features.
You may also like:
- How to Install Fonts on Mac
- How to Download Discord on Mac
- Best VS Code Extensions for Beginners
Frequently Asked Questions (FAQ)
Is Visual Studio Code free on Mac?
Yes, Visual Studio Code is completely free to download and use on macOS. It is developed by Microsoft and supports a wide range of programming languages.
Can I install VS Code on MacBook M1, M2, or M3?
Yes, VS Code fully supports Apple Silicon (M1, M2, M3). You can download the Apple Silicon version for better performance.
Where is VS Code installed on Mac?
After installation, VS Code is usually located in the Applications folder on your Mac.
Why can’t I open VS Code on Mac?
If VS Code doesn’t open, it may be blocked by macOS security settings. Go to System Settings → Privacy & Securityand allow the app to run.
Do I need to install extensions in VS Code?
Extensions are optional, but they are highly recommended. They add useful features like language support, themes, and debugging tools to improve your coding experience.