BlueStacks 5 is the most widely used Android emulator for PC, and it runs smoothly on Windows 11 — no workarounds, beta channels, or extra compatibility layers required. Since Windows 11’s official release, BlueStacks has fully supported it out of the box, making setup exactly as simple as it is on Windows 10.
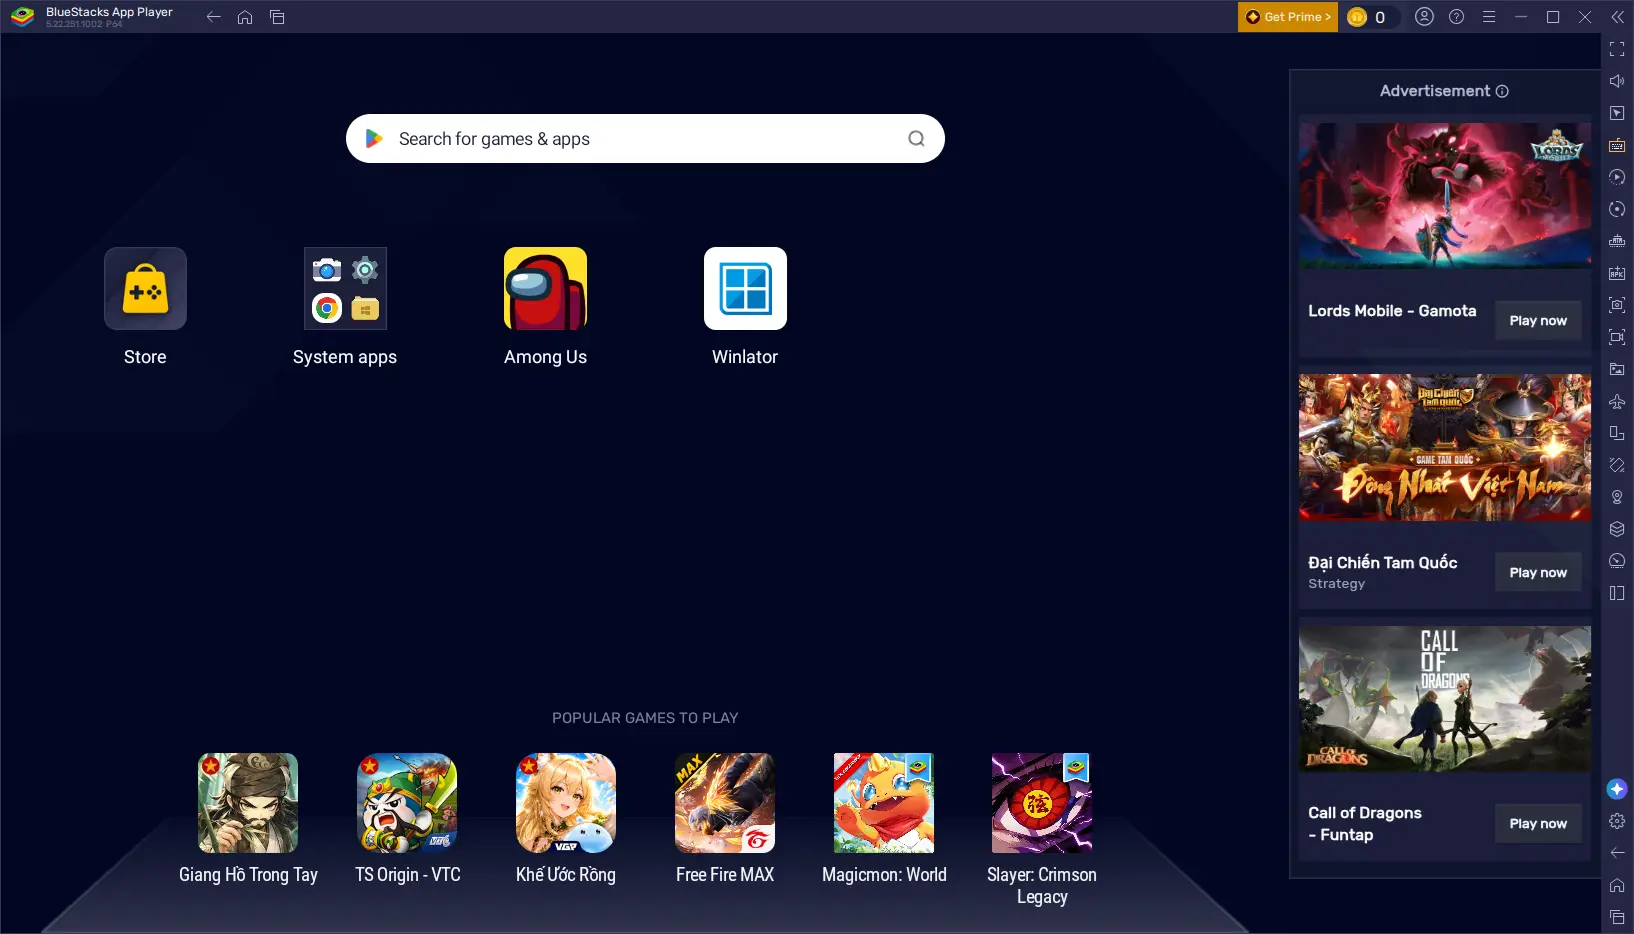
This guide covers everything: checking your PC meets the requirements, downloading and installing BlueStacks 5, signing into the Play Store, and a few settings worth adjusting for the smoothest experience on Windows 11.
1 System Requirements for BlueStacks 5 on Windows 11
BlueStacks 5 was rebuilt from the ground up to be lighter and faster than earlier versions, but a bit of extra headroom over the bare minimum makes a real difference in day-to-day use.
| Component | Minimum | Recommended |
|---|---|---|
| OS | Windows 11 (any supported build) | Windows 11 with latest updates installed |
| CPU | Intel or AMD, single-thread benchmark 1000+ | Multi-core Intel/AMD with strong single-thread performance |
| GPU | Intel/Nvidia/AMD, benchmark score 750+ | Dedicated GPU with up-to-date drivers |
| RAM | 4 GB | 8 GB or more |
| Storage | 5 GB free space | SSD with 10 GB+ free space |
| Other | Hardware virtualization (VT-x/AMD-V) enabled | Stable internet connection for Play Store downloads |
You can check your CPU and GPU benchmark scores on sites like CPUBenchmark or VideoCardBenchmark if you’re unsure whether your hardware clears the bar.
2 Before You Start
Two quick checks make the rest of the install go smoothly:
- Confirm Windows 11 is up to date. Go to Settings → Windows Update and install any pending updates before installing BlueStacks.
- Enable hardware virtualization in your BIOS/UEFI if you haven’t already — this is required for BlueStacks to run at all on most systems. It’s usually listed as Intel VT-x or AMD-V under a CPU or Advanced settings menu.
BlueStacks 5 was rewritten from scratch rather than being an update to BlueStacks 4, so there’s no direct in-place upgrade path. You’ll install BlueStacks 5 as a fresh app, and it’s entirely safe to keep both versions installed side by side if you still need BlueStacks 4 for anything.
- Go to the official BlueStacks website and click Download BlueStacks 5.
- Once downloaded, run the installer file.
- Choose your installation drive. BlueStacks defaults to your C: drive, but you can change this — just remember that every app and game you install afterward will also live on this same drive, so make sure there’s enough free space long-term.
- Click Install Now and wait for the installer to download the remaining required files and complete setup. This step depends heavily on your internet speed, since a chunk of BlueStacks’ components download during installation rather than being bundled in the initial installer.
- Once installation finishes, BlueStacks 5 launches automatically.
BlueStacks uses the Google Play Store to install apps and games, just like a real Android device, so you’ll need to sign in with a Google account.
- On first launch, BlueStacks will usually prompt you to sign in automatically.
- If it doesn’t, go to Settings → Account → Add Account inside BlueStacks, or simply open the Play Store app from the home screen and sign in from there.
- Enter your existing Google account credentials, or create a new account if needed.
- Once signed in, search for any app or game and install it exactly as you would on a phone.
5 Windows 11-Specific Tips
- Enable “Performance Mode” in BlueStacks settings if your PC has a dedicated GPU — this shifts more rendering work to your graphics card, which pairs well with Windows 11’s improved GPU scheduling.
- Keep Windows 11 fully updated. Microsoft has shipped several driver and virtualization-related fixes since launch that specifically improve emulator stability.
- Snap Layouts work fine with BlueStacks — you can snap the BlueStacks window alongside other apps using Windows 11’s updated Snap Layouts feature, which is handy for multitasking while an app installs.
- Check Windows Security exclusions if BlueStacks feels sluggish — adding the BlueStacks install folder as an exclusion in Windows Security can reduce background scanning overhead.
6 Troubleshooting Common Issues
| Issue | Likely Fix |
|---|---|
| BlueStacks won’t start / black screen | Confirm hardware virtualization (VT-x/AMD-V) is enabled in BIOS |
| Play Store sign-in fails | Check your internet connection and date/time settings are correct |
| Poor performance / stuttering | Update GPU drivers, enable Performance Mode, allocate more RAM |
| Installation stuck downloading | Check for a slow/unstable connection; retry with a wired connection if possible |
| Antivirus blocks installation | Temporarily whitelist the BlueStacks installer, then re-enable protection after |
7 Frequently Asked Questions
8 Conclusion
Here’s the quick recap of installing BlueStacks 5 on Windows 11:
- Check requirements — 4GB+ RAM, virtualization enabled, decent CPU/GPU benchmark scores
- Download and install from the official BlueStacks website
- Sign in with a Google account to access the Play Store
- Adjust settings like Performance Mode for the smoothest experience
With Windows 11 now fully supported out of the box, getting BlueStacks up and running takes the same few minutes it always has — no extra steps, no waiting on compatibility patches, and no need to touch Windows Insider builds or preview channels.
🎮 Ready to Run Android Apps on Windows 11?
Download BlueStacks 5, follow the steps above, and you’ll be installing your first app in minutes.