The days of being tied to a cable subscription and a fixed programming schedule are long gone. Streaming platforms like Netflix, Prime Video, and HBO Max let you watch what you want, whenever you want — and TV operating systems like Google TV make that experience even smoother by letting you install almost any Android app directly on your television.
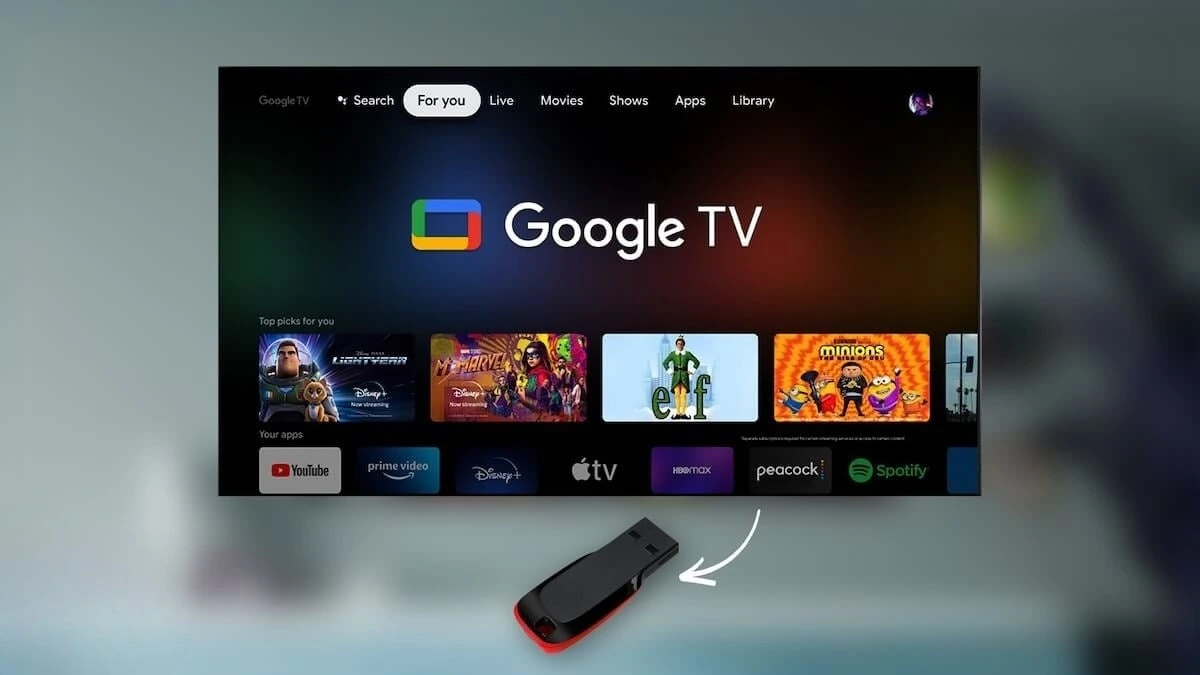
But what if your TV isn’t running Google TV — or what if you want to carry your entire setup, apps, logins, and watch history with you wherever you go? That’s exactly what installing Google TV on a USB drive lets you do. It sounds technical, but the process is genuinely approachable once you follow the right steps, and that’s exactly what this guide walks you through.
1 What You’ll Need
Before jumping into the actual steps, gather everything below so you’re not stopping halfway through the process:
| Requirement | Details |
|---|---|
| USB Drive | 16GB minimum — the more storage, the more room for apps later |
| Google TV OS Files | Distributed as a RAR archive containing the bootable ISO and data images |
| Rufus | Free tool used to flash the ISO onto the USB drive |
| A Windows PC | Used to run Rufus and manage partitions; a macOS machine can also work |
This first step gets the USB drive ready to boot Google TV by flashing the OS image onto it using Rufus.
- Download the Google TV OS RAR file from this link. If the previous link doesn’t work, then use this link instead. Extract the file and keep the ISO file found inside the Storages folder handy.
- Download and install Rufus on your Windows PC.
- Launch Rufus and plug in the USB drive you want to use.
- Click Select and choose the Google TV ISO file you extracted earlier.
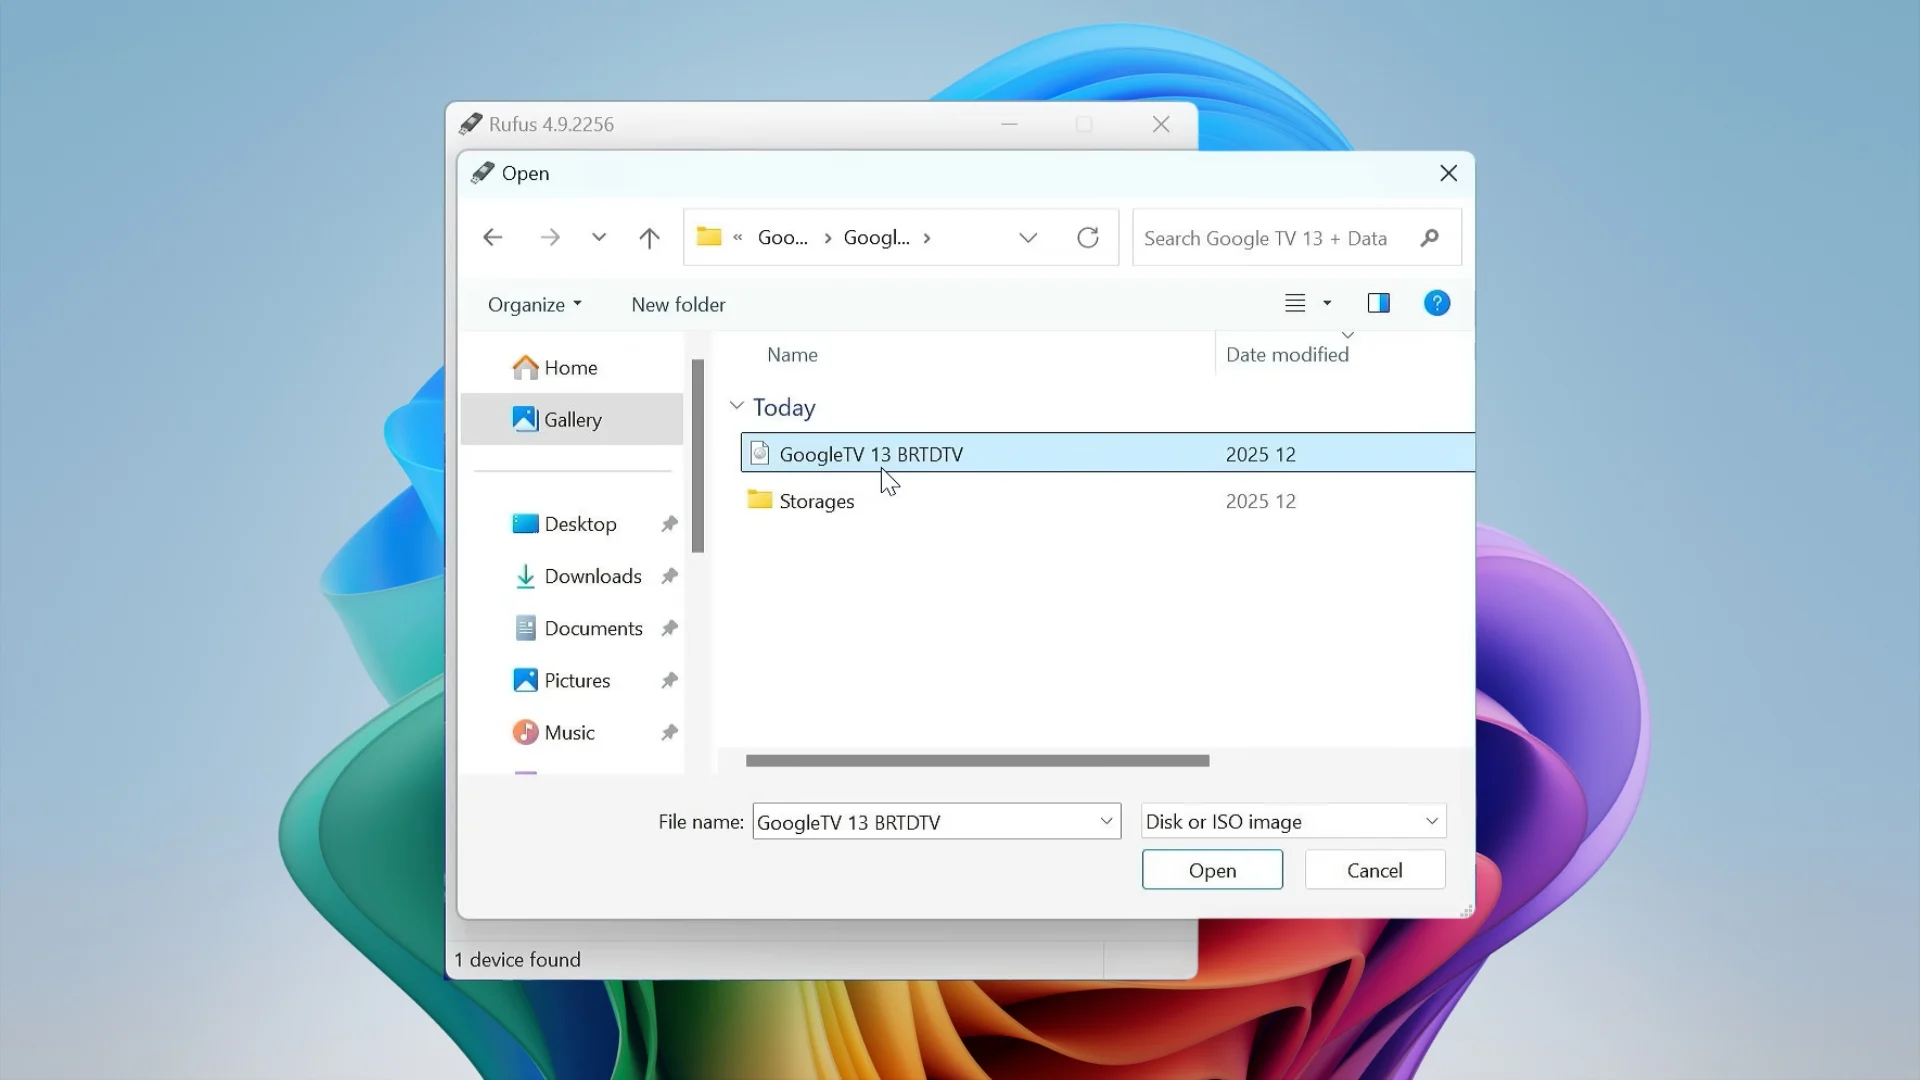
Click Select in Rufus and point it to the Google TV ISO file you extracted.
- Drag the Persistent partition size slider all the way to the right — this reserves the maximum available space on the drive for later.
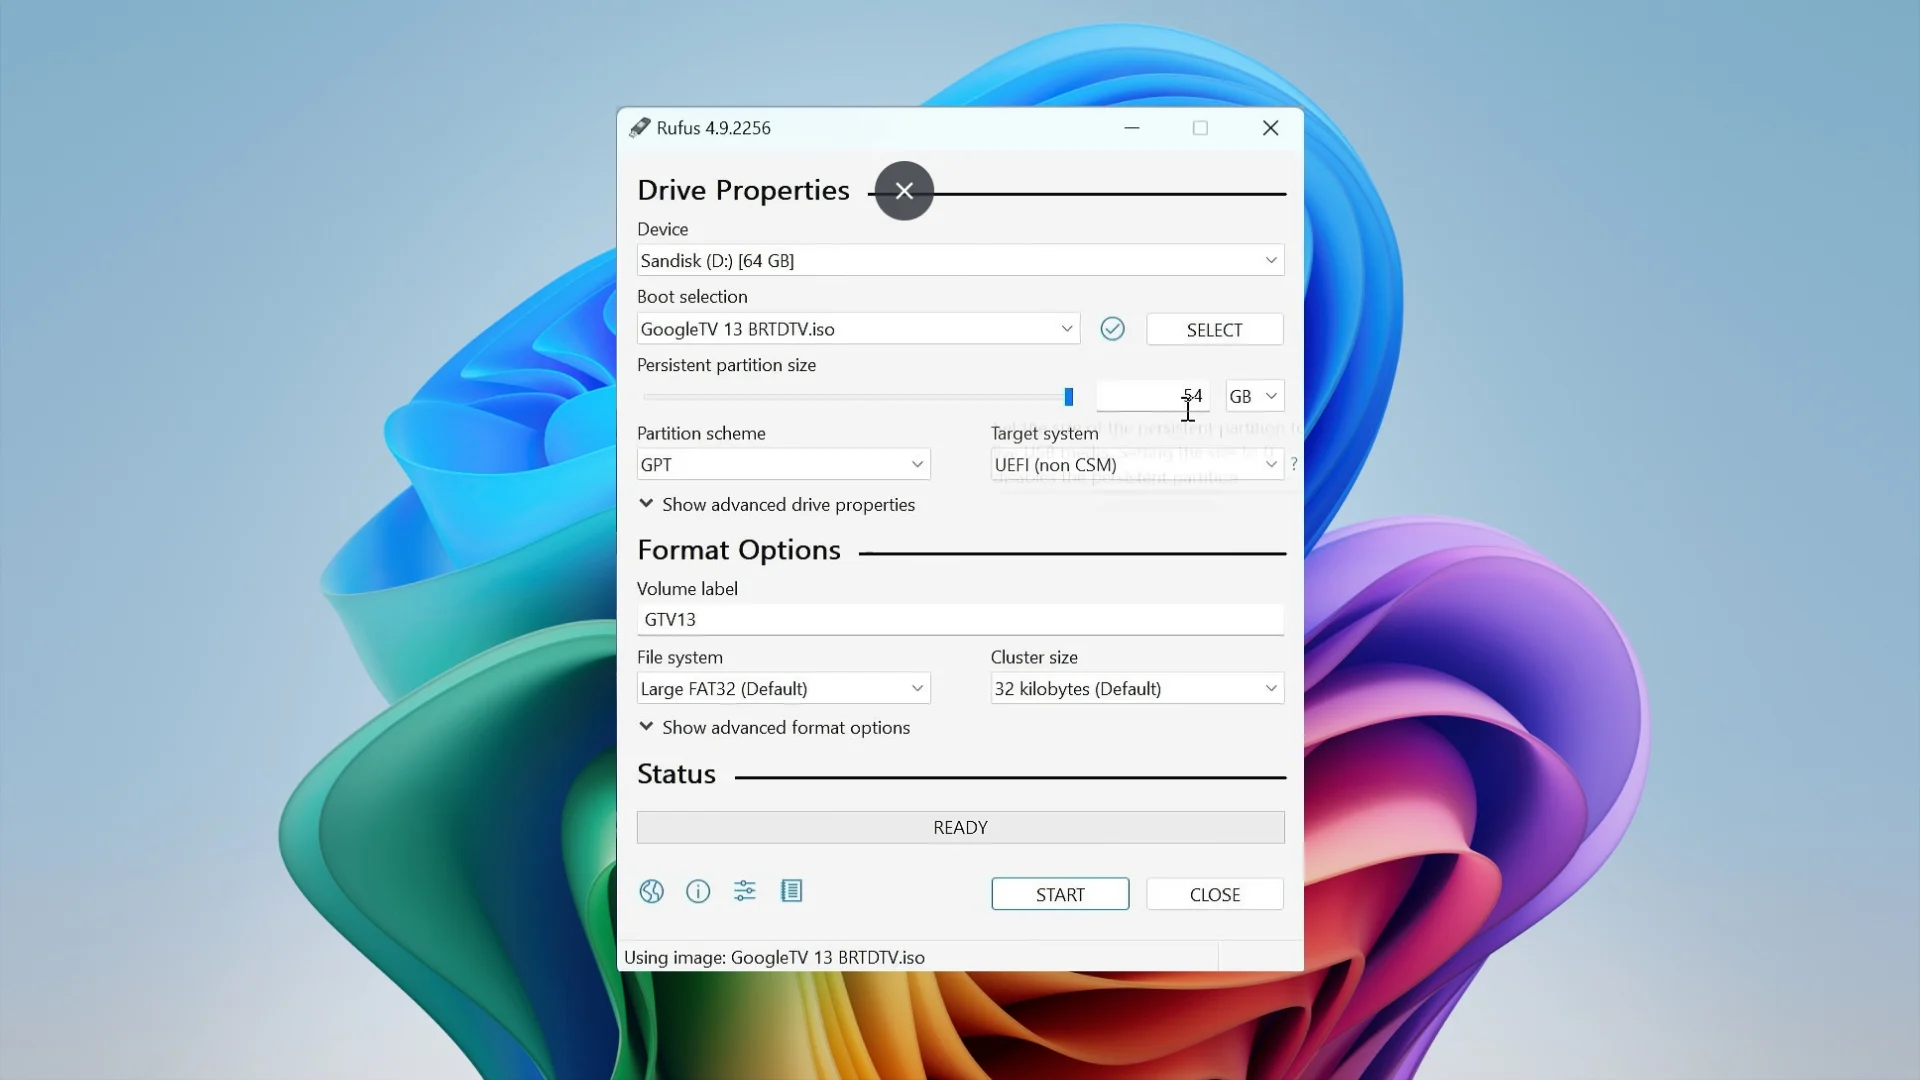
Push the persistence slider fully to the right to reserve the most space possible.
- Under Partition Scheme, choose GPT for newer UEFI-based computers, or MBR for older BIOS-based systems.
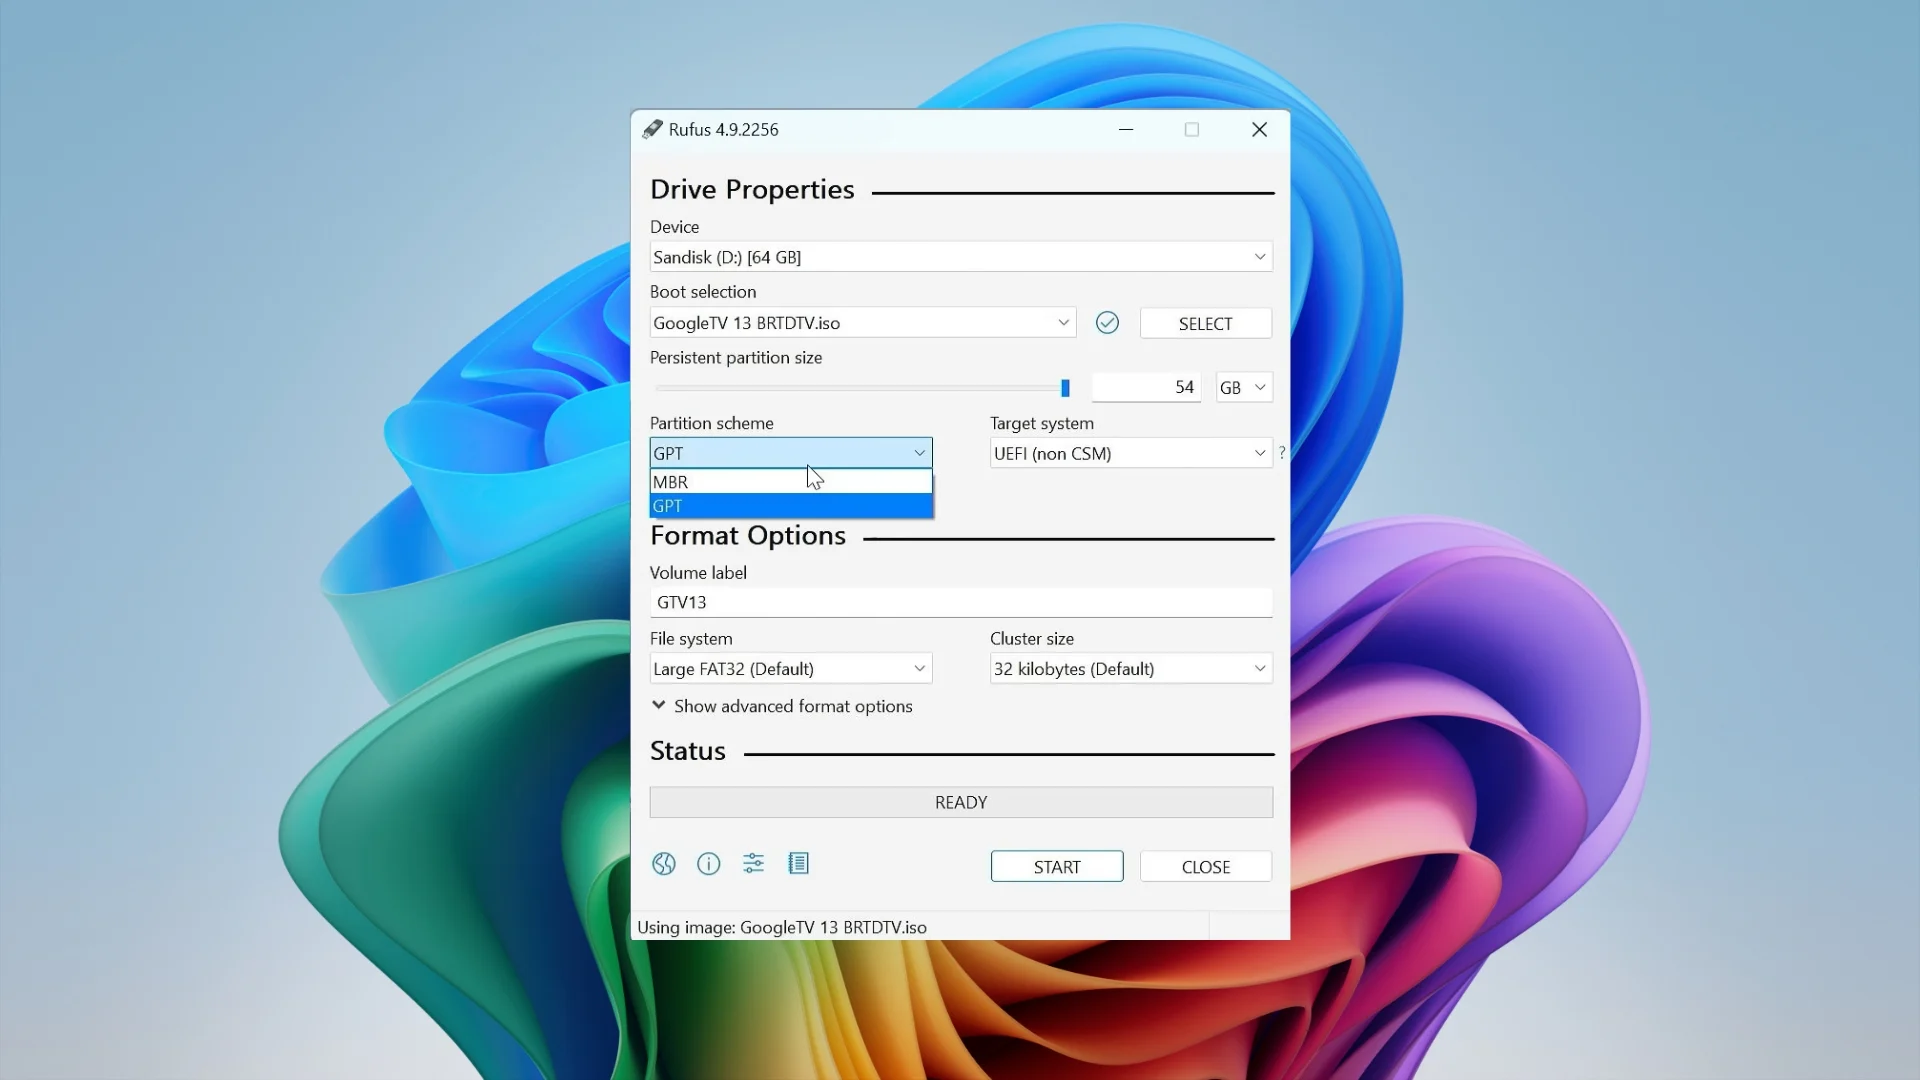
Pick GPT for modern UEFI systems or MBR for older BIOS-based computers.
- Click Start to begin flashing. If a warning pops up about erasing the drive, confirm it to proceed — this will wipe all existing data on the USB.
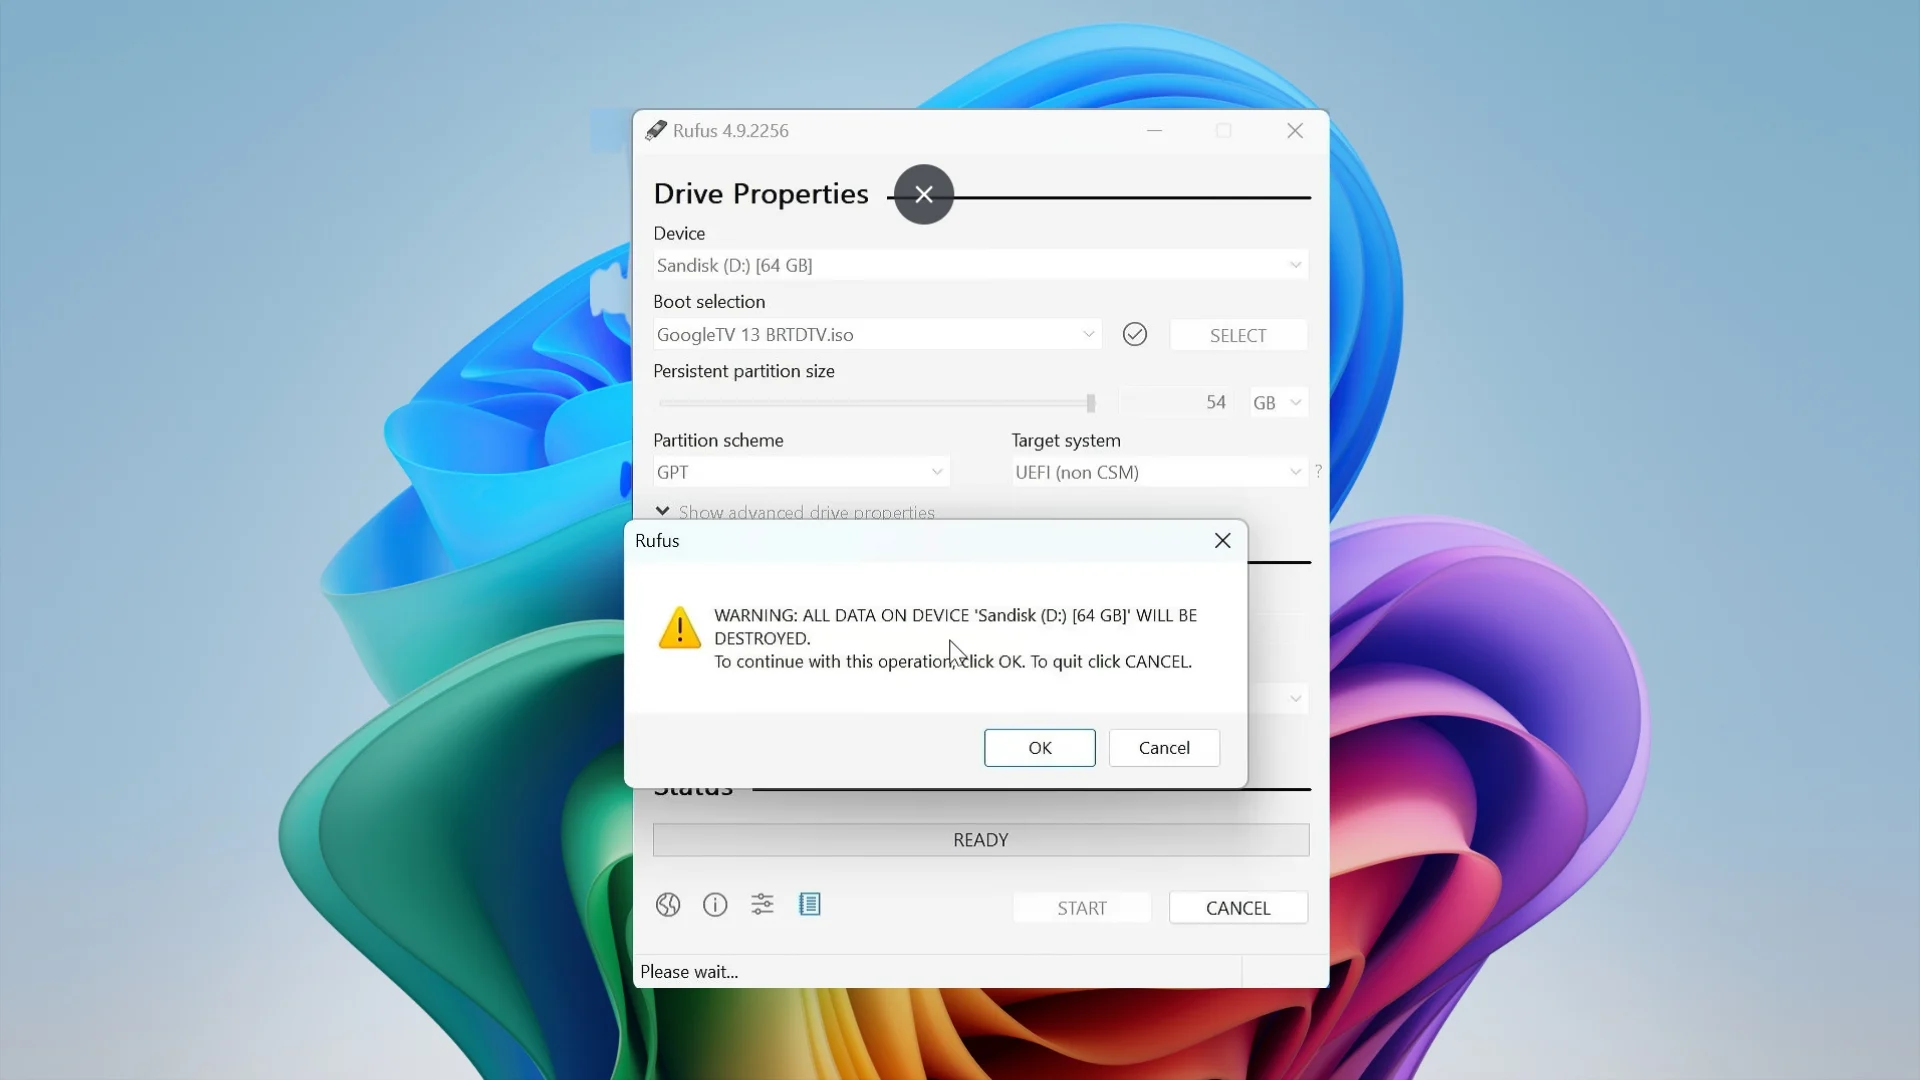
Confirming the warning tells Rufus to erase the drive and begin writing the Google TV image.
Flashing with Rufus wipes everything currently stored on the drive. Make sure you’ve backed up any files you need before clicking Start.
Rufus formats the persistence partition as FAT32 by default, which caps individual file sizes at 4GB — too small for the Google TV data files you’ll need later. This step converts that partition to exFAT instead.
- Press the Windows key, search for Disk Management, and open it.
- Locate your USB drive in the list of disks.
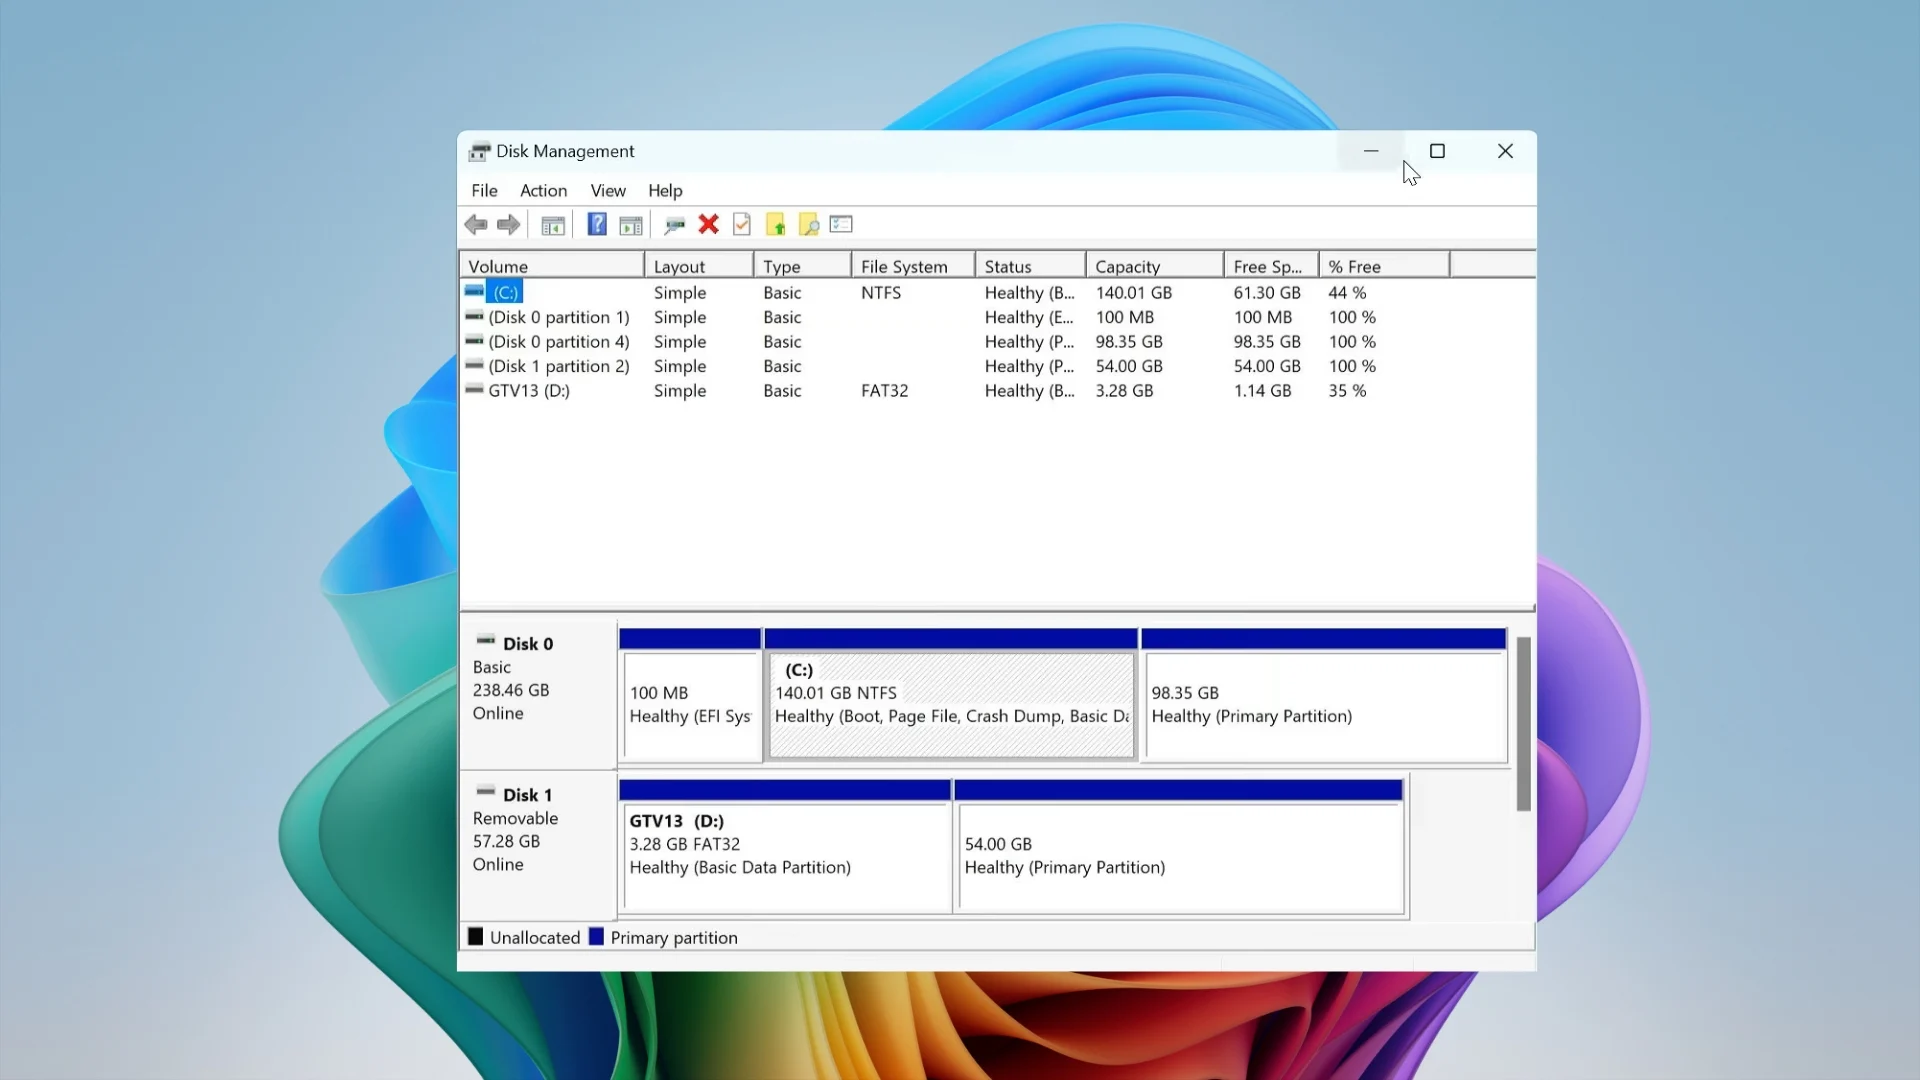
Find your USB drive and its persistence partition inside Disk Management.
- Right-click the persistence volume and select Delete Volume.
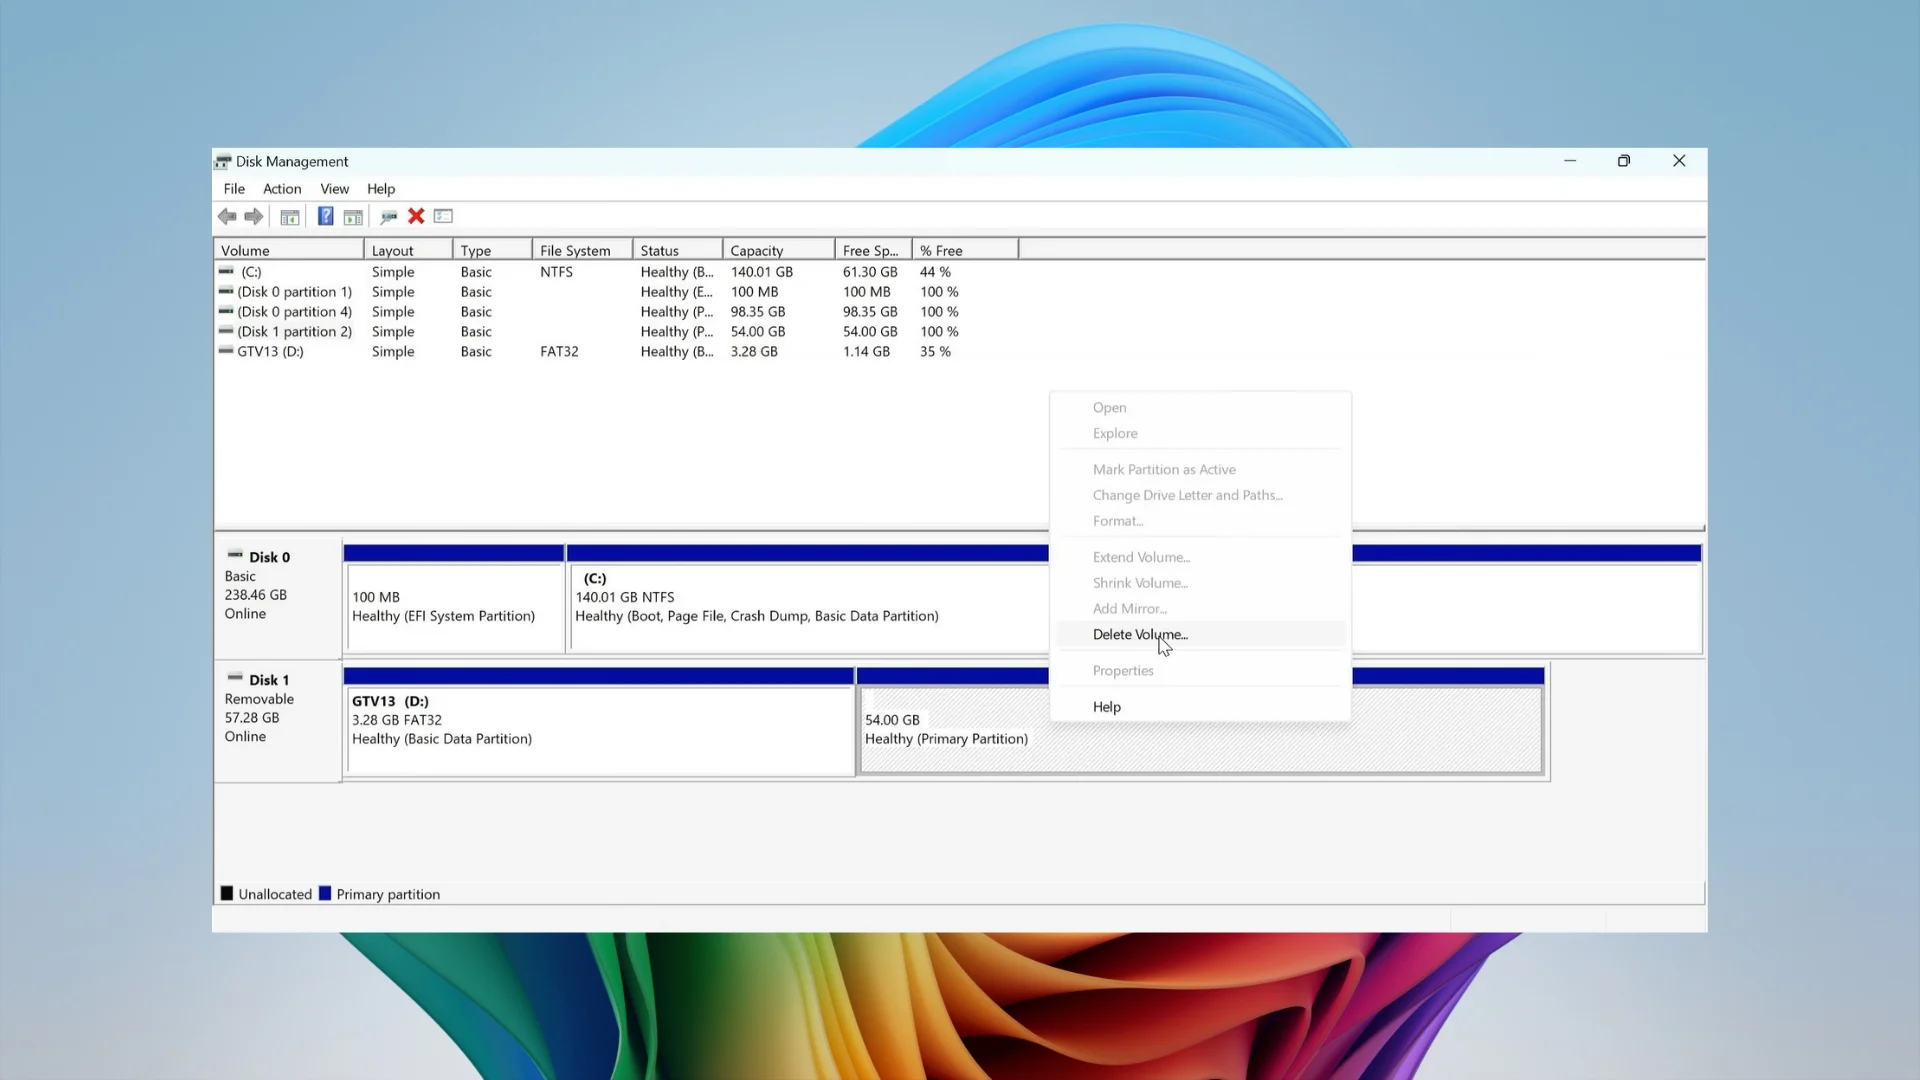
Right-click the persistence partition and choose Delete Volume.
- Confirm by clicking Yes to delete the partition.
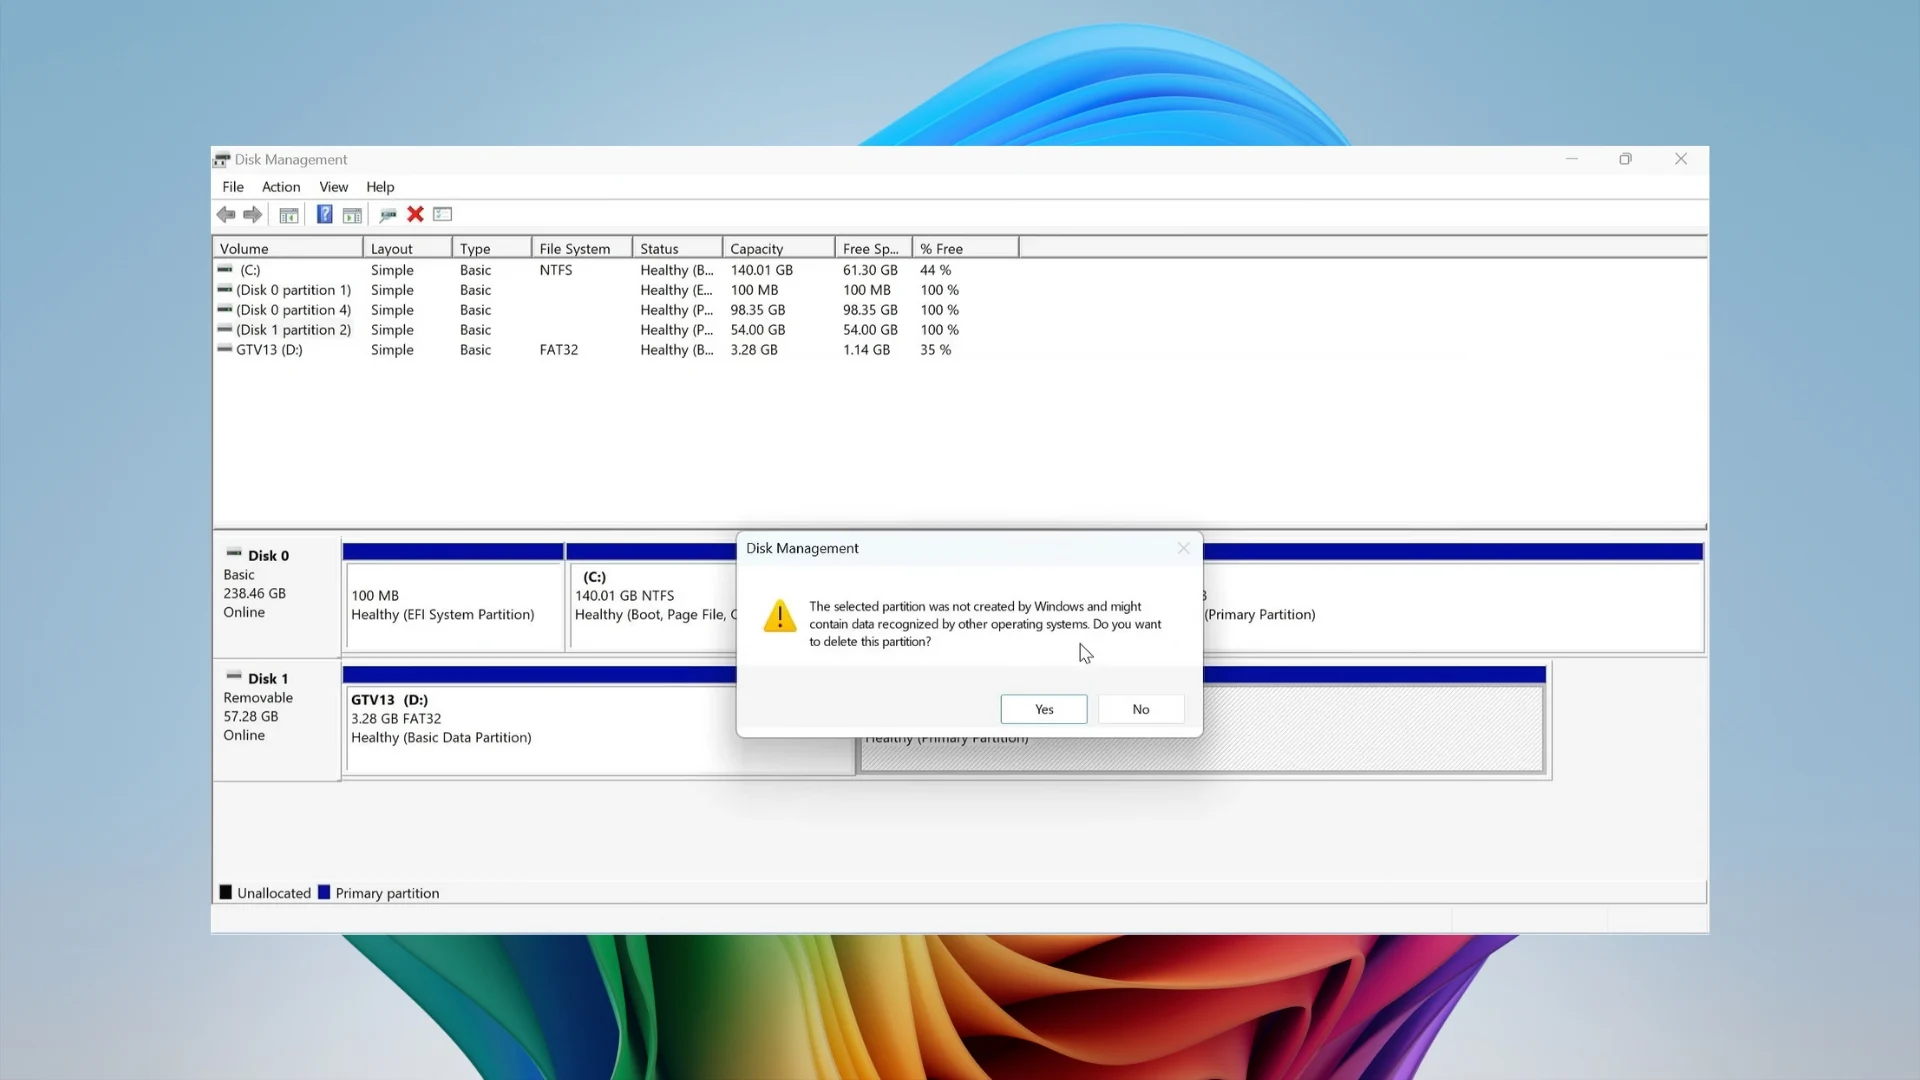
Confirm the prompt to finish removing the old partition.
- Right-click the newly Unallocated space and choose New Simple Volume, then click through the wizard until you reach the format settings.
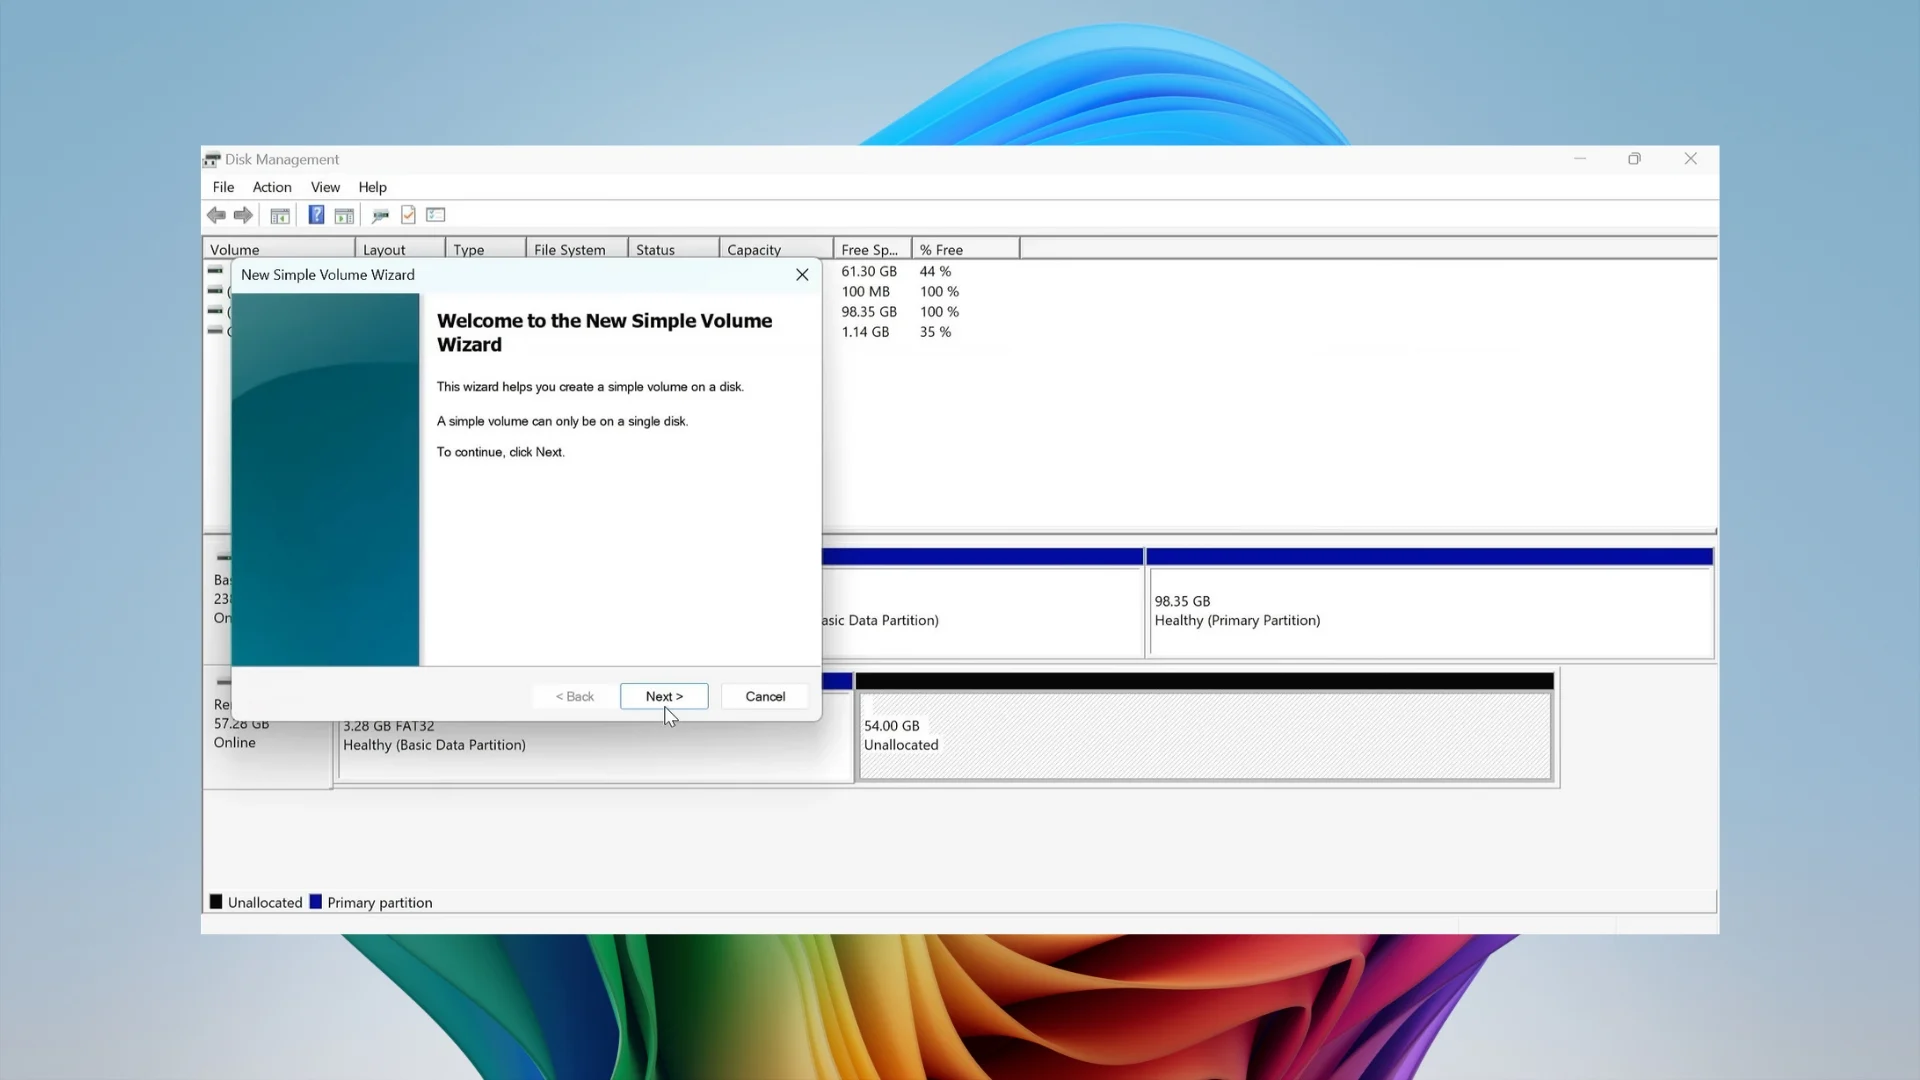
Launch the New Simple Volume Wizard on the unallocated space.
- When you reach the Format screen, change the file system from FAT32 to exFAT.
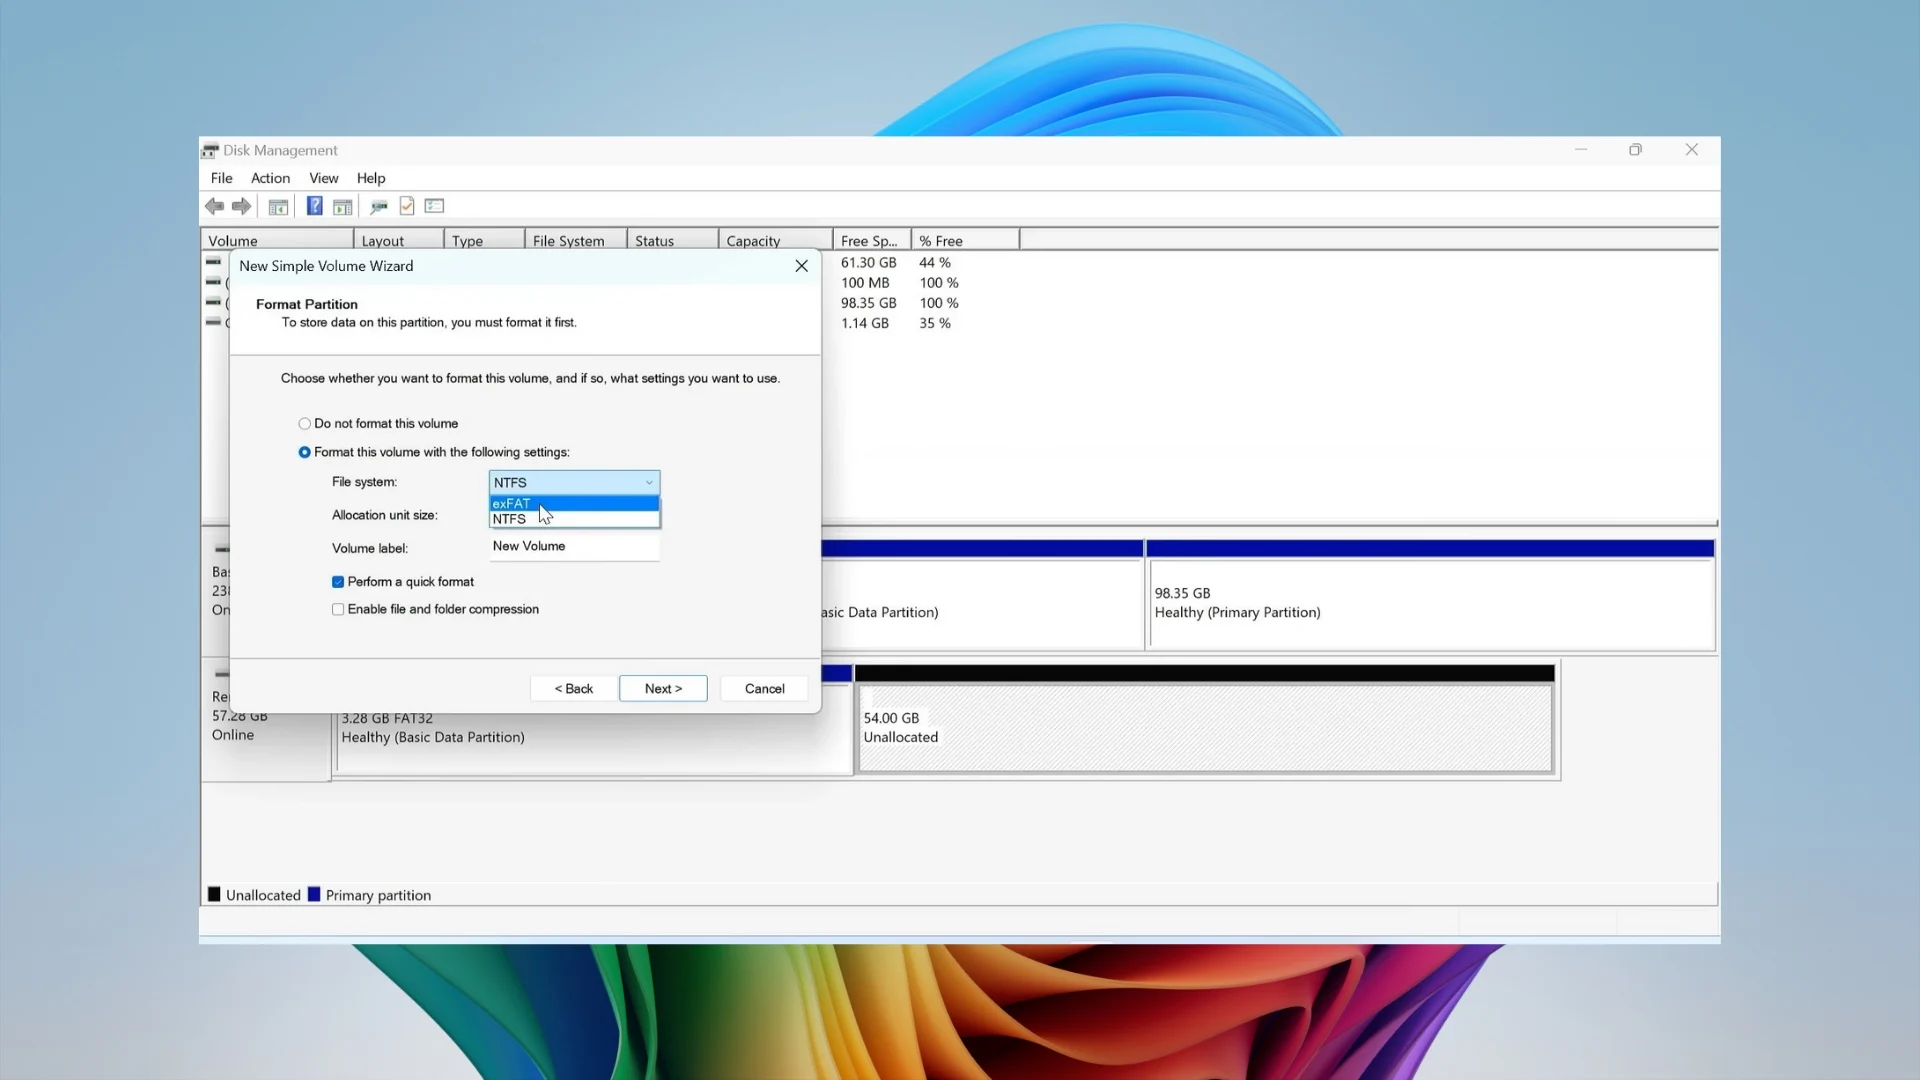
Select exFAT instead of FAT32 so larger files can be copied later.
- Give the partition a label such as System, then click Finish to complete the process.
With the exFAT partition ready, it’s time to move the core Google TV system files onto the drive.
- Open File Explorer (Win + E) and navigate to the boot partition of your USB drive.
- Find the system.sfs file.
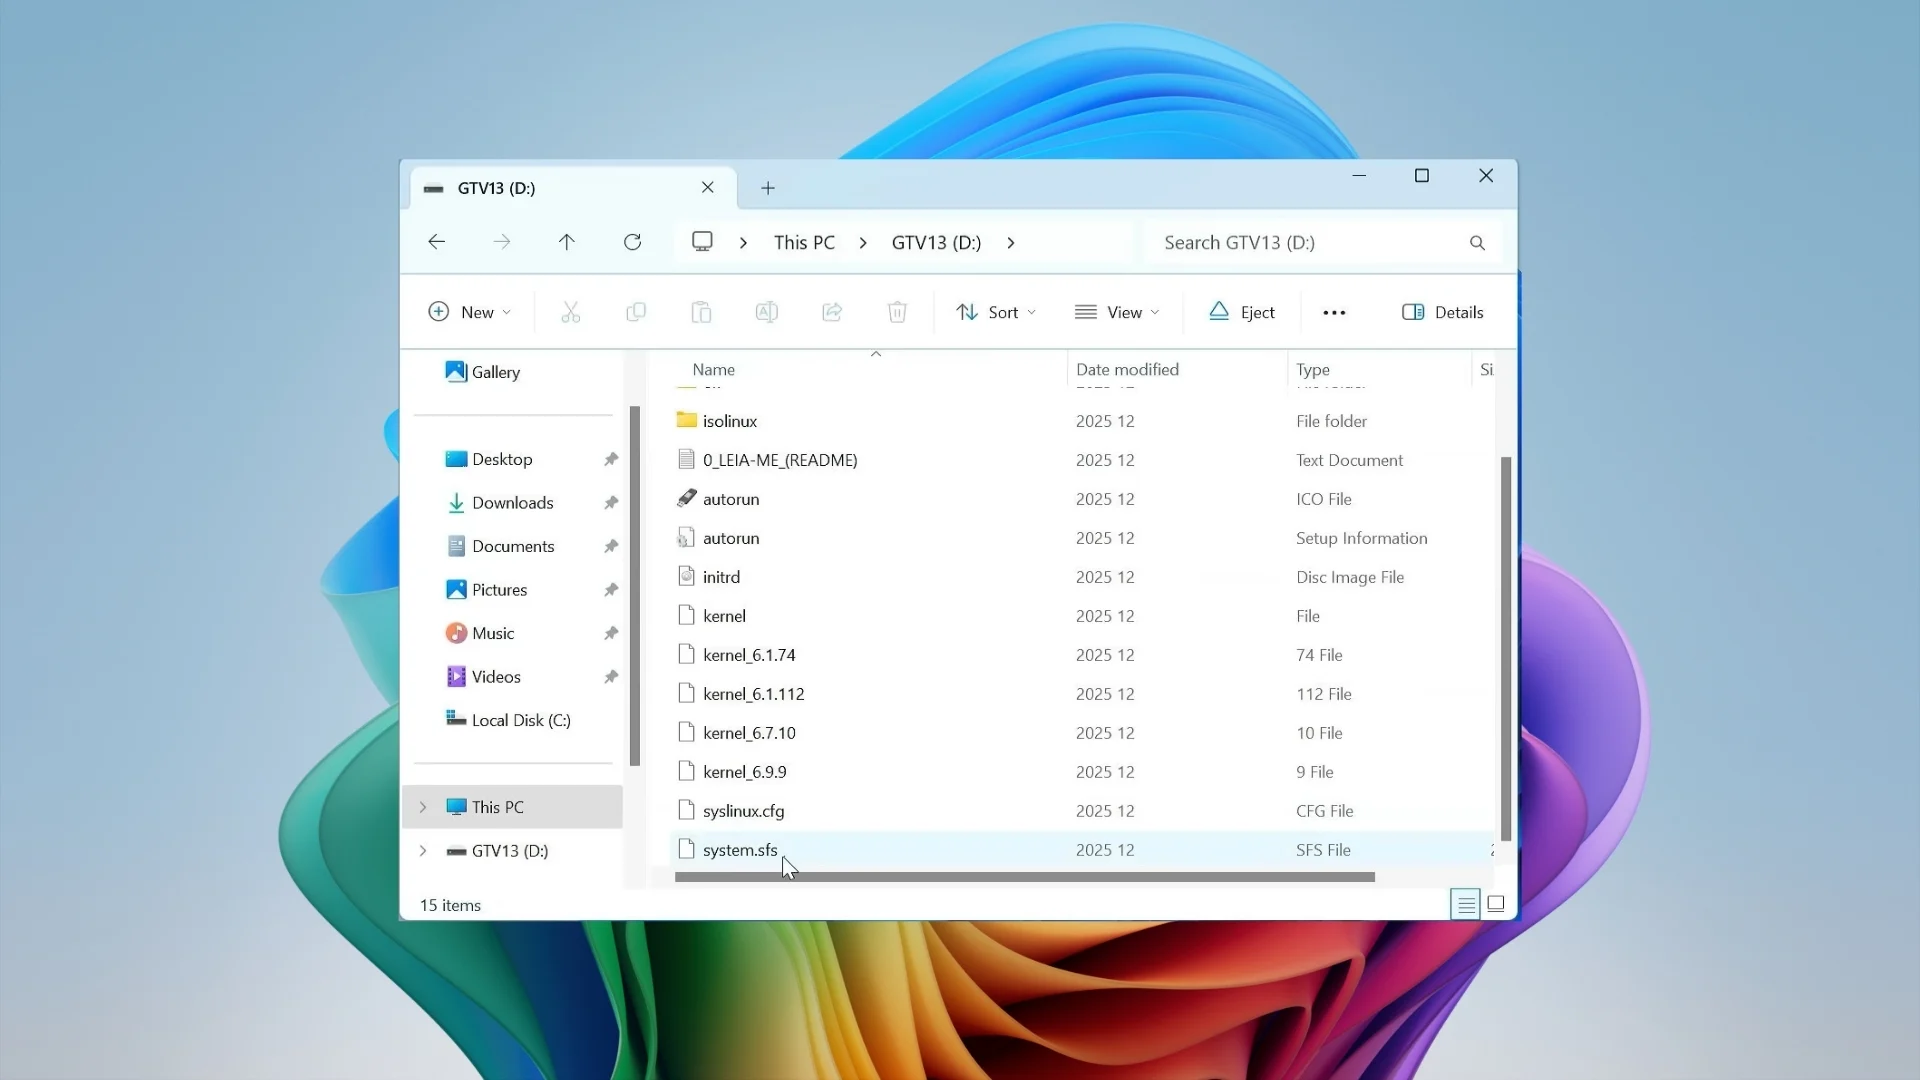
Find system.sfs inside the boot partition of your USB drive.
- Cut the file with Ctrl + X, then go to your new exFAT system partition and paste it with Ctrl + V.
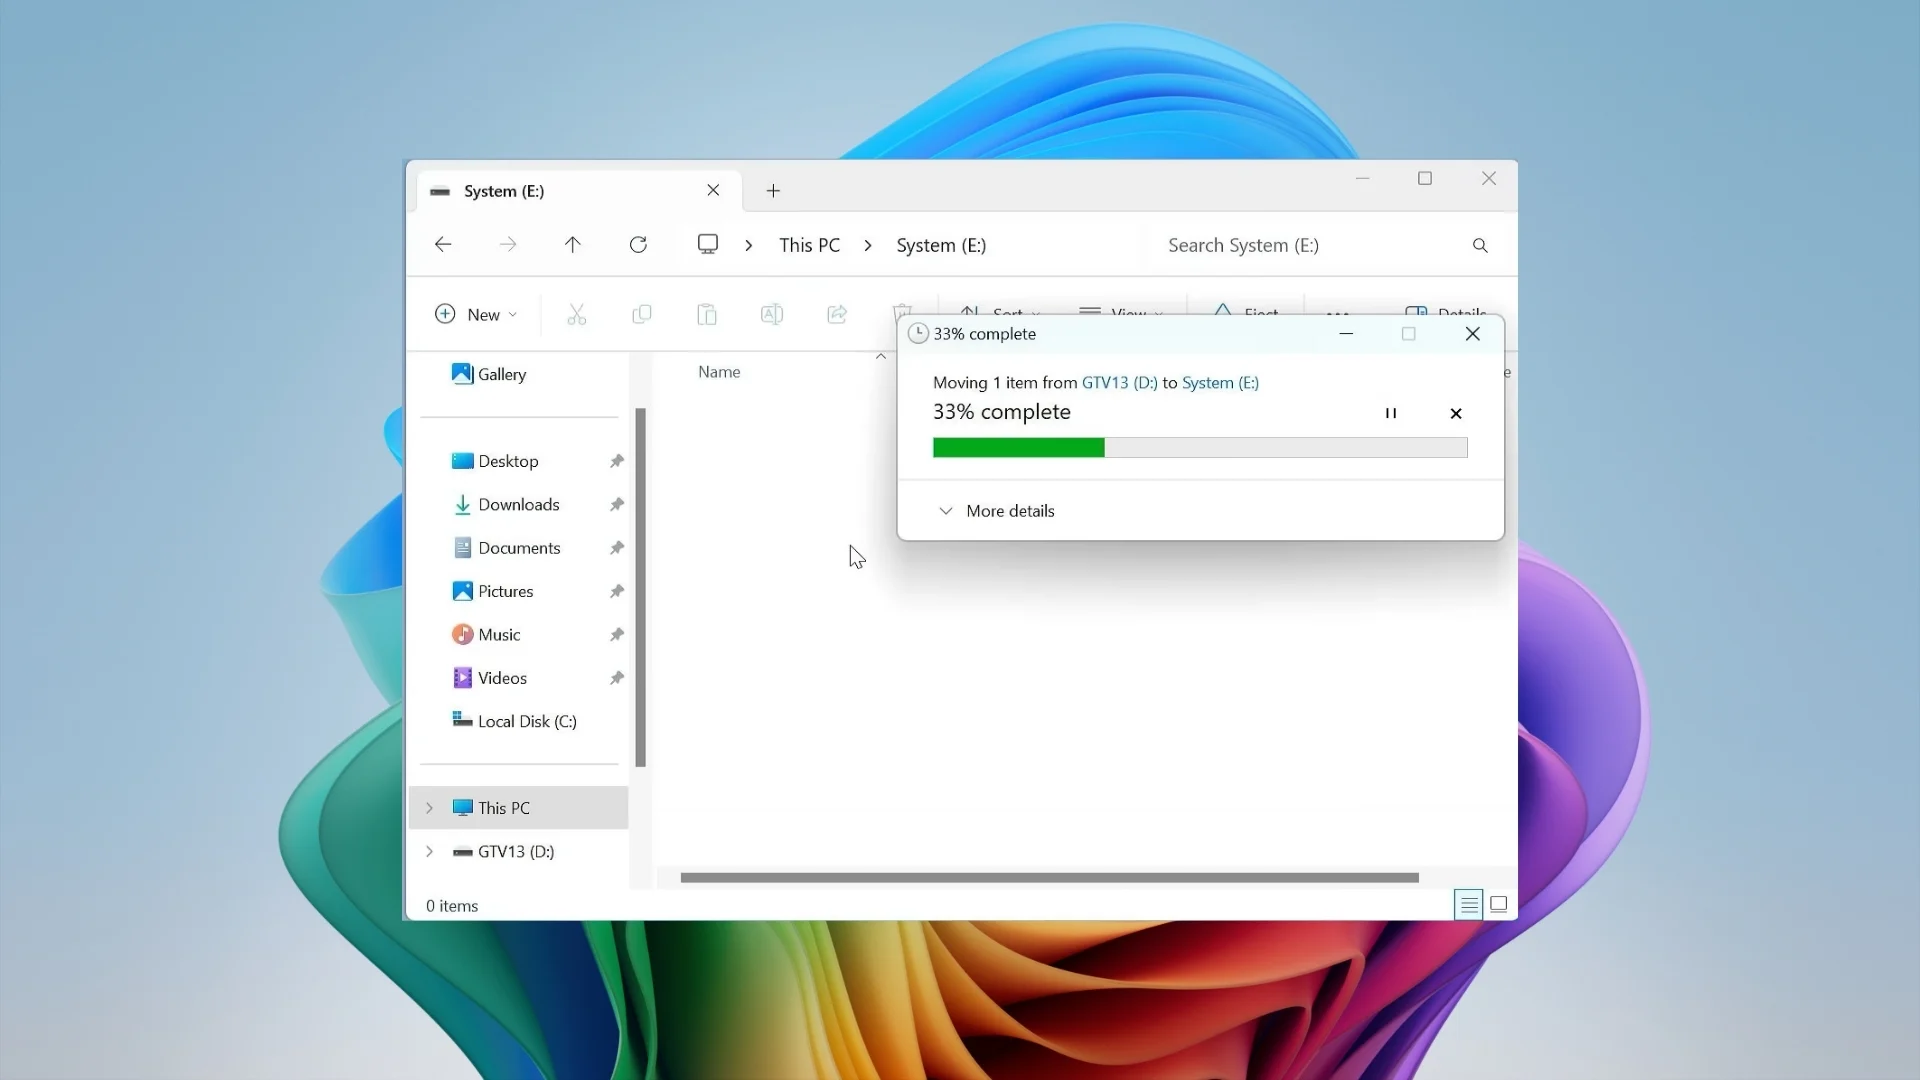
Move system.sfs from the boot partition into your new exFAT partition.
- Go back to the Storages folder from Step 1 and pick the data file matching your USB drive’s capacity:
- 64GB USB: use the 32GB data file
- 32GB USB: use the 16GB data file
- 16GB USB: use the 8GB data file
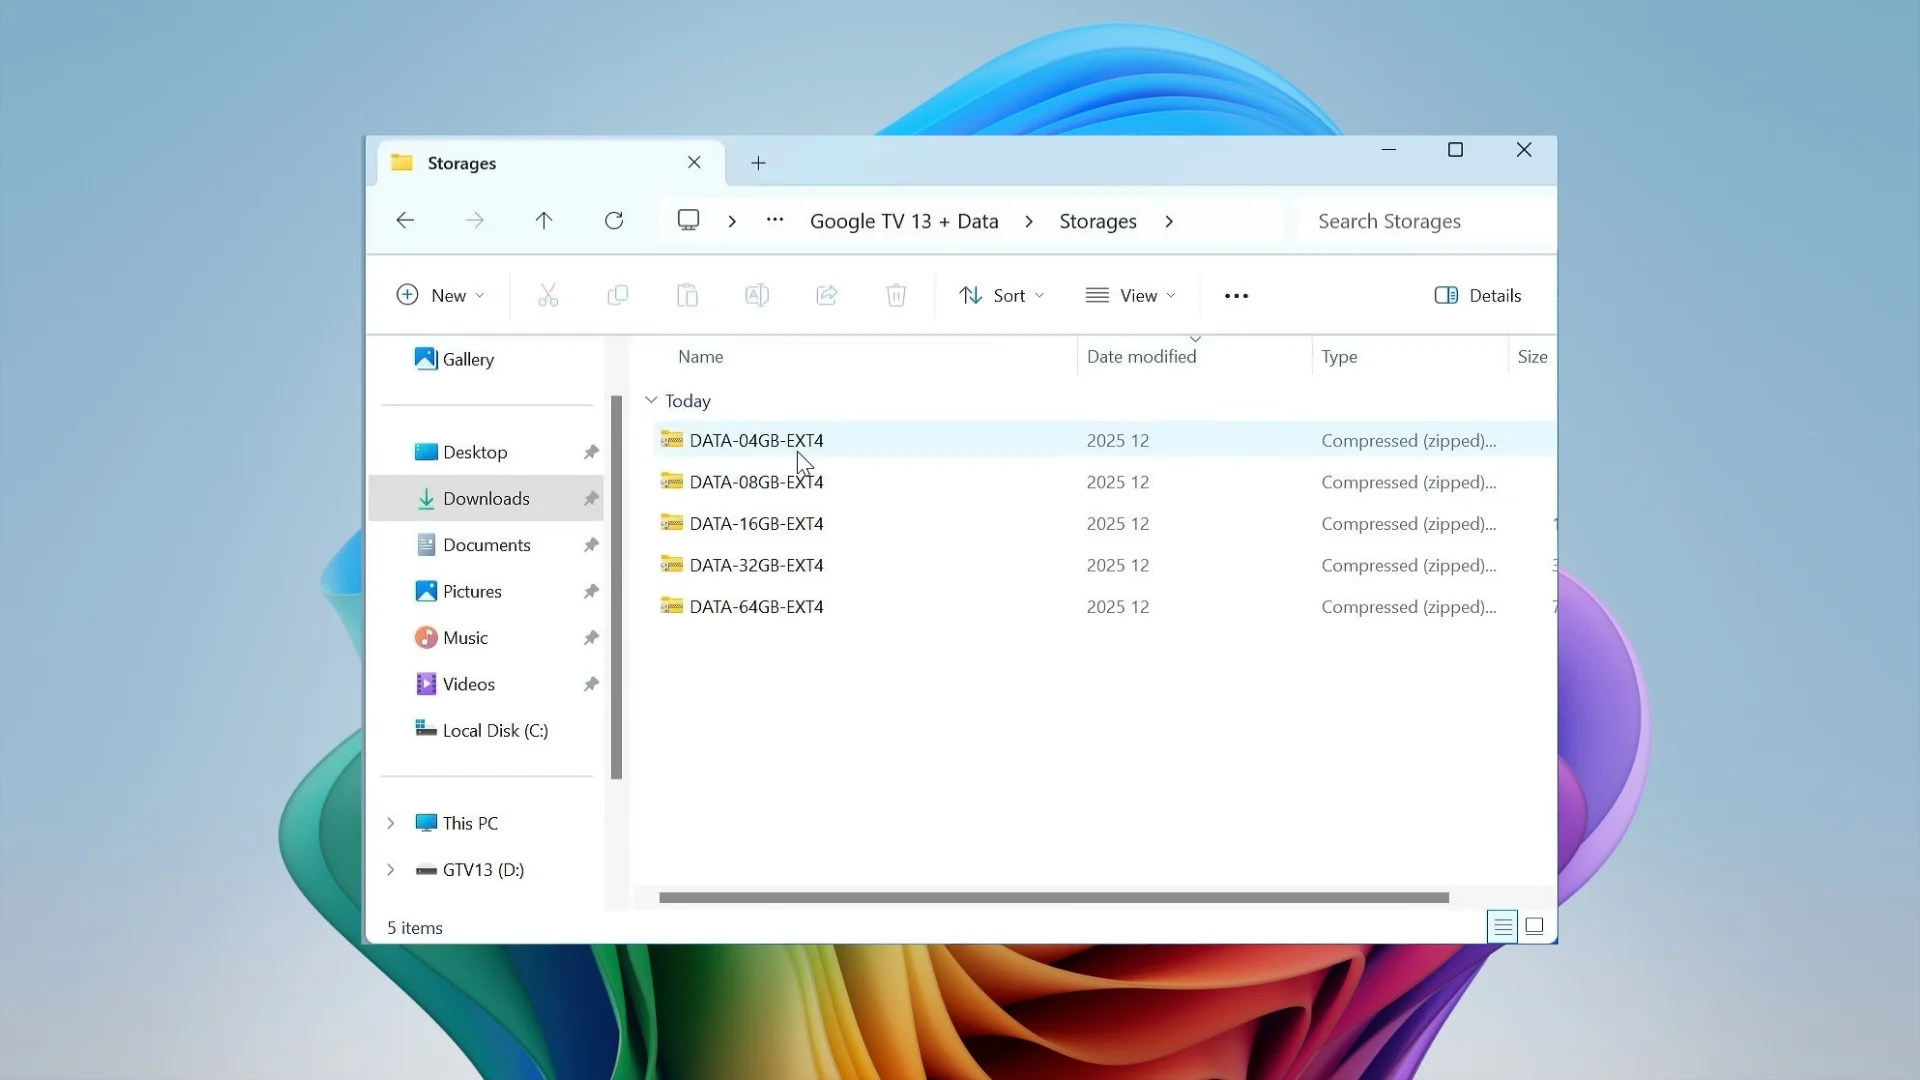
Match the data file size to your USB drive’s total capacity.
- Extract the matching ZIP file to get the data.img file.
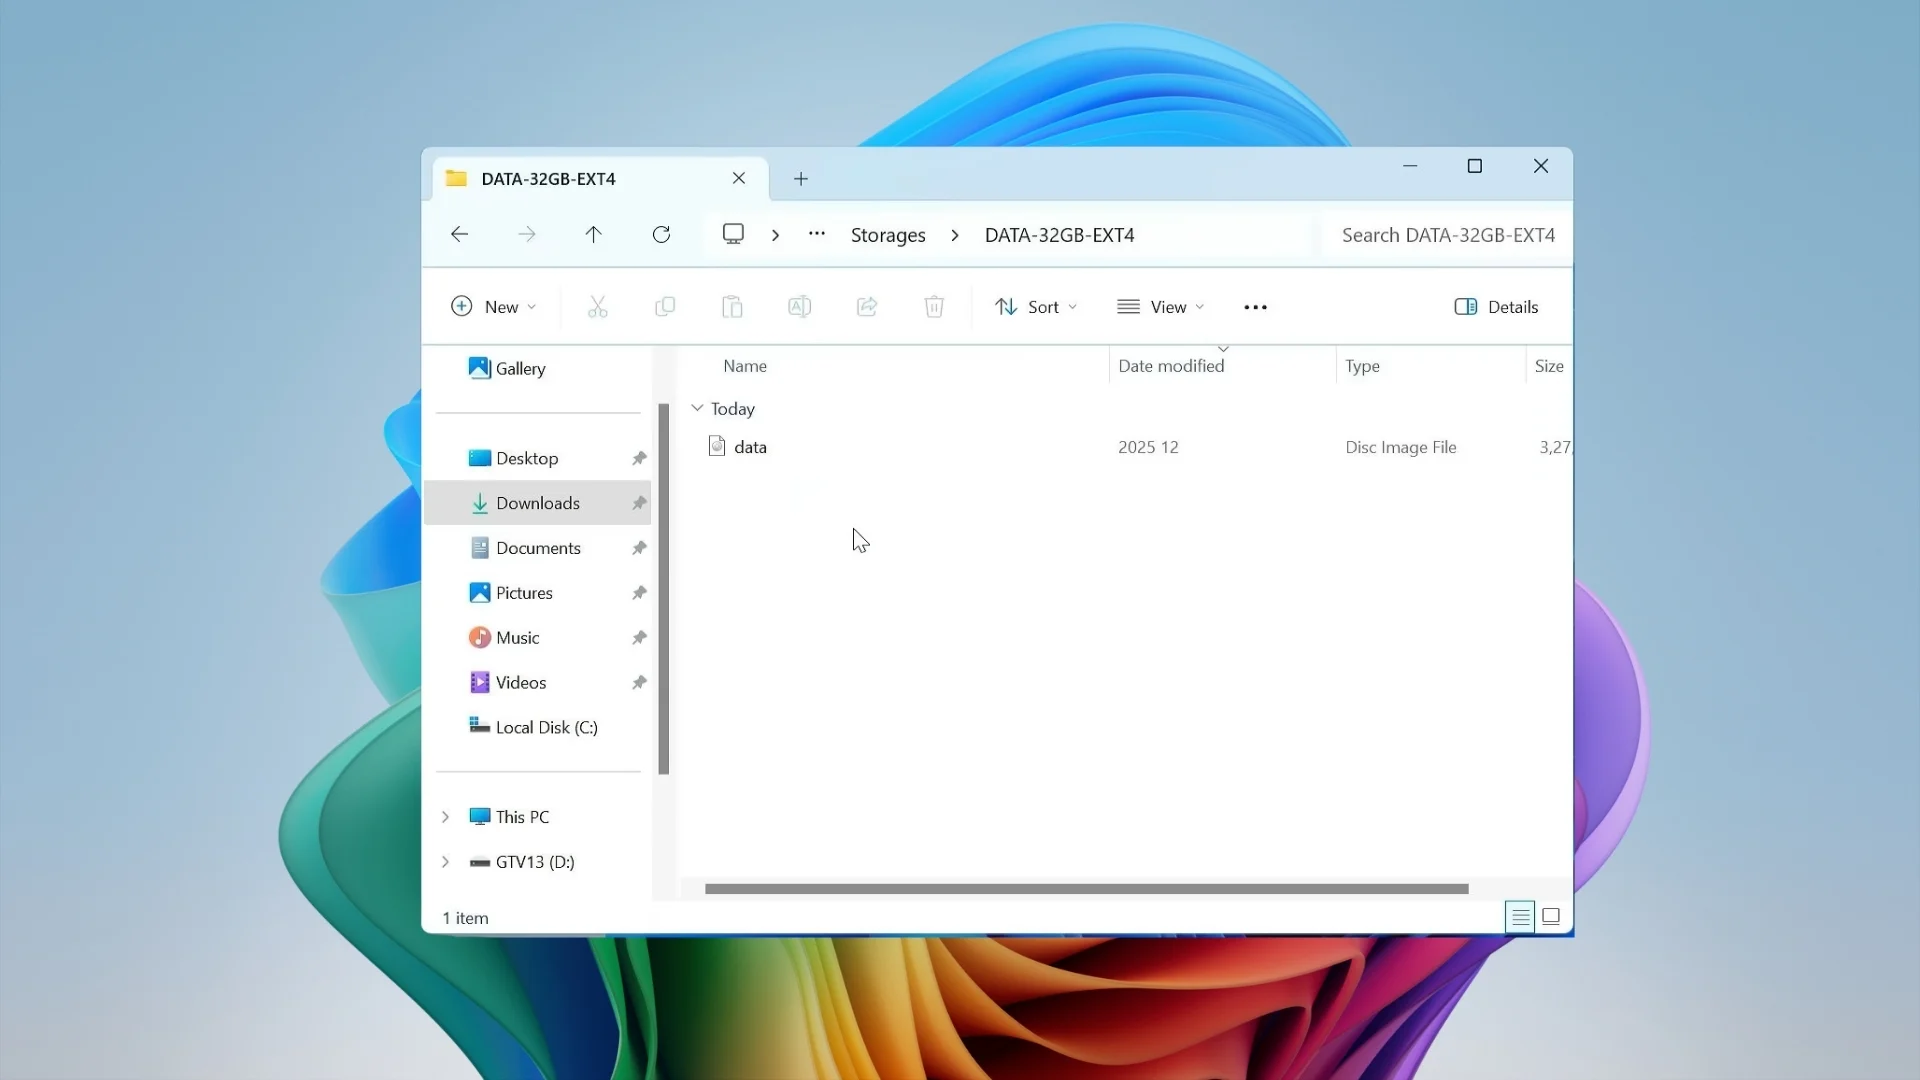
Once extracted, you’ll have a data.img file ready to copy.
- Copy data.img and paste it into your new System partition, alongside system.sfs.
With the files in place, the last preparation step is adjusting your PC’s BIOS so it will boot from the USB drive instead of your normal operating system.
- Restart your PC and enter the BIOS menu by pressing F2, F12, or Del during startup (check your manufacturer’s site if none of these work).
- Find the Secure Boot option and set it to Disabled, then save and exit.
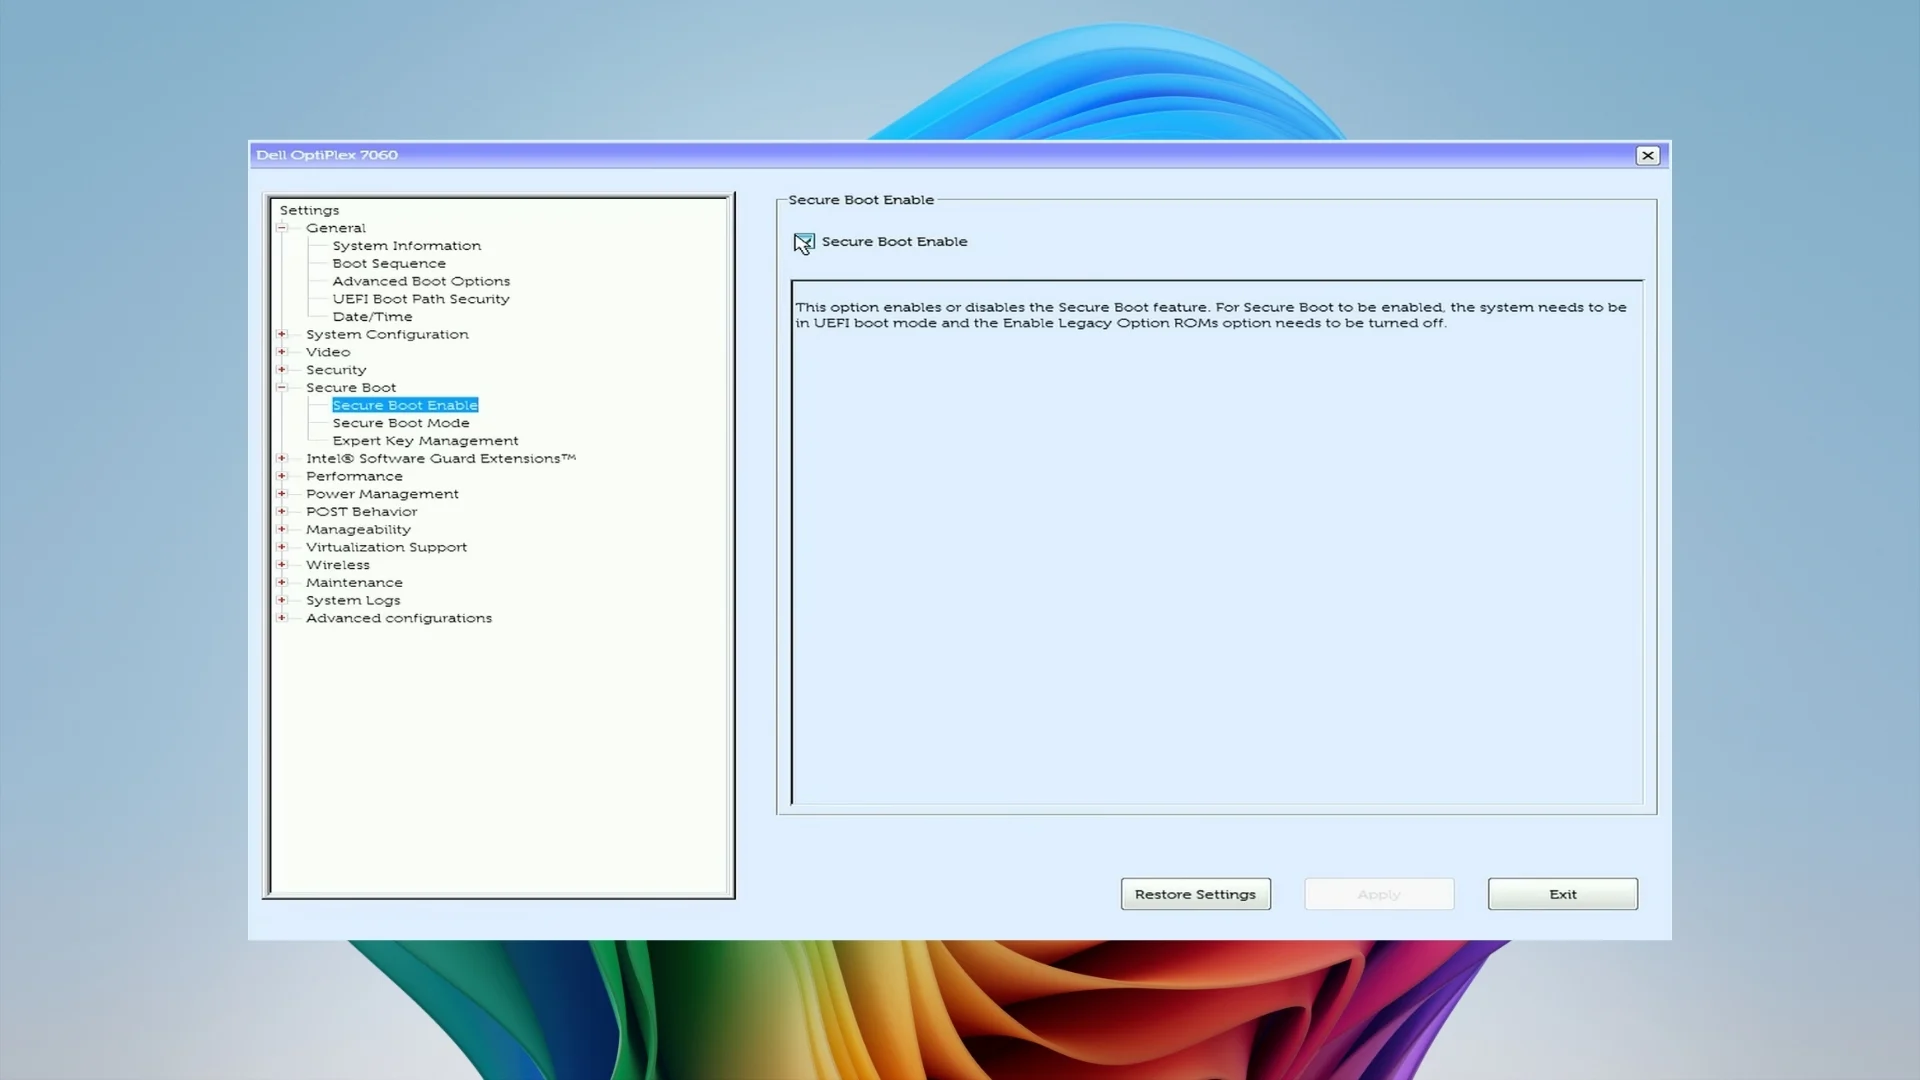
Set Secure Boot to Disabled so the PC will accept booting from the USB drive.
- Restart again and re-enter the BIOS menu, then select your USB drive as the boot device.
- Choose the correct kernel option: the standard option for laptop screens, or External Display if you’re connecting through HDMI to a TV.
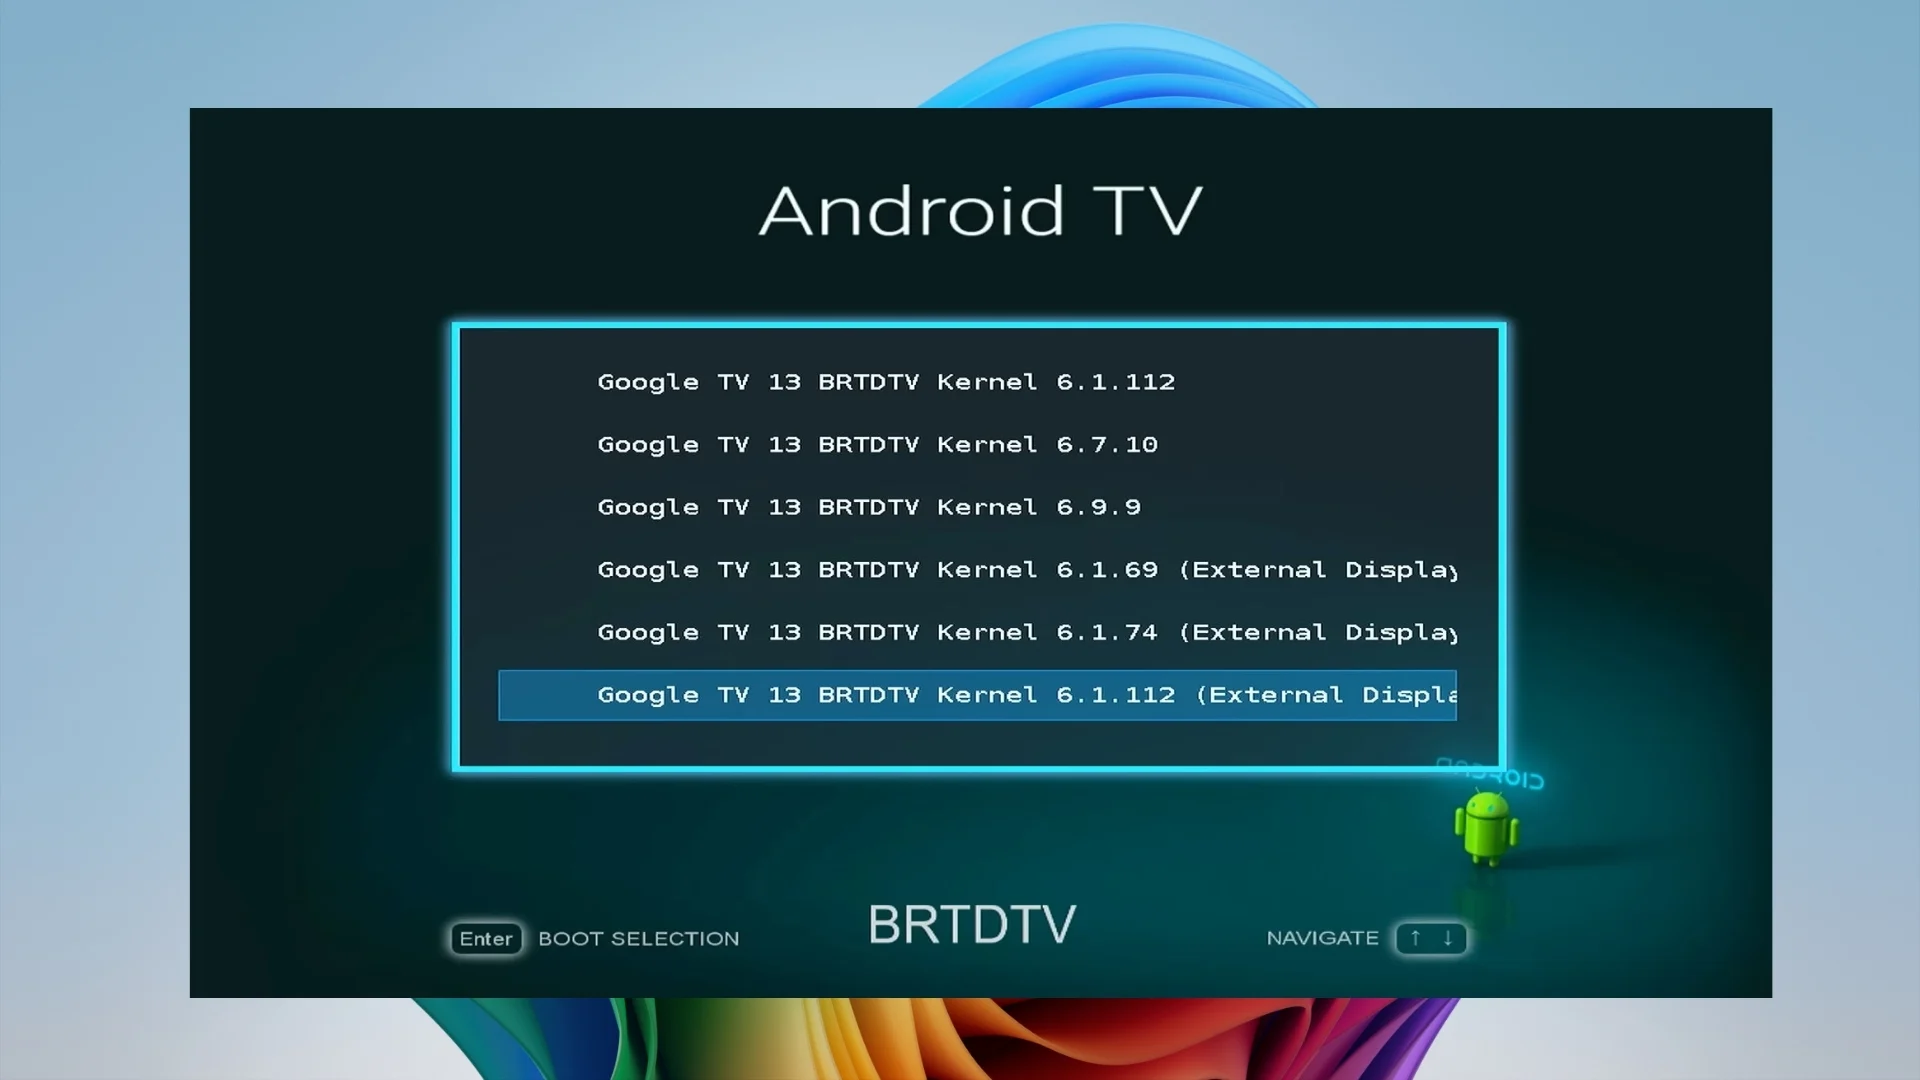
Pick the kernel that matches your display setup — laptop screen or external HDMI TV.
The first boot will take a little longer than usual as the system initializes, but once it’s done, you’ll be greeted by the familiar Google TV interface.
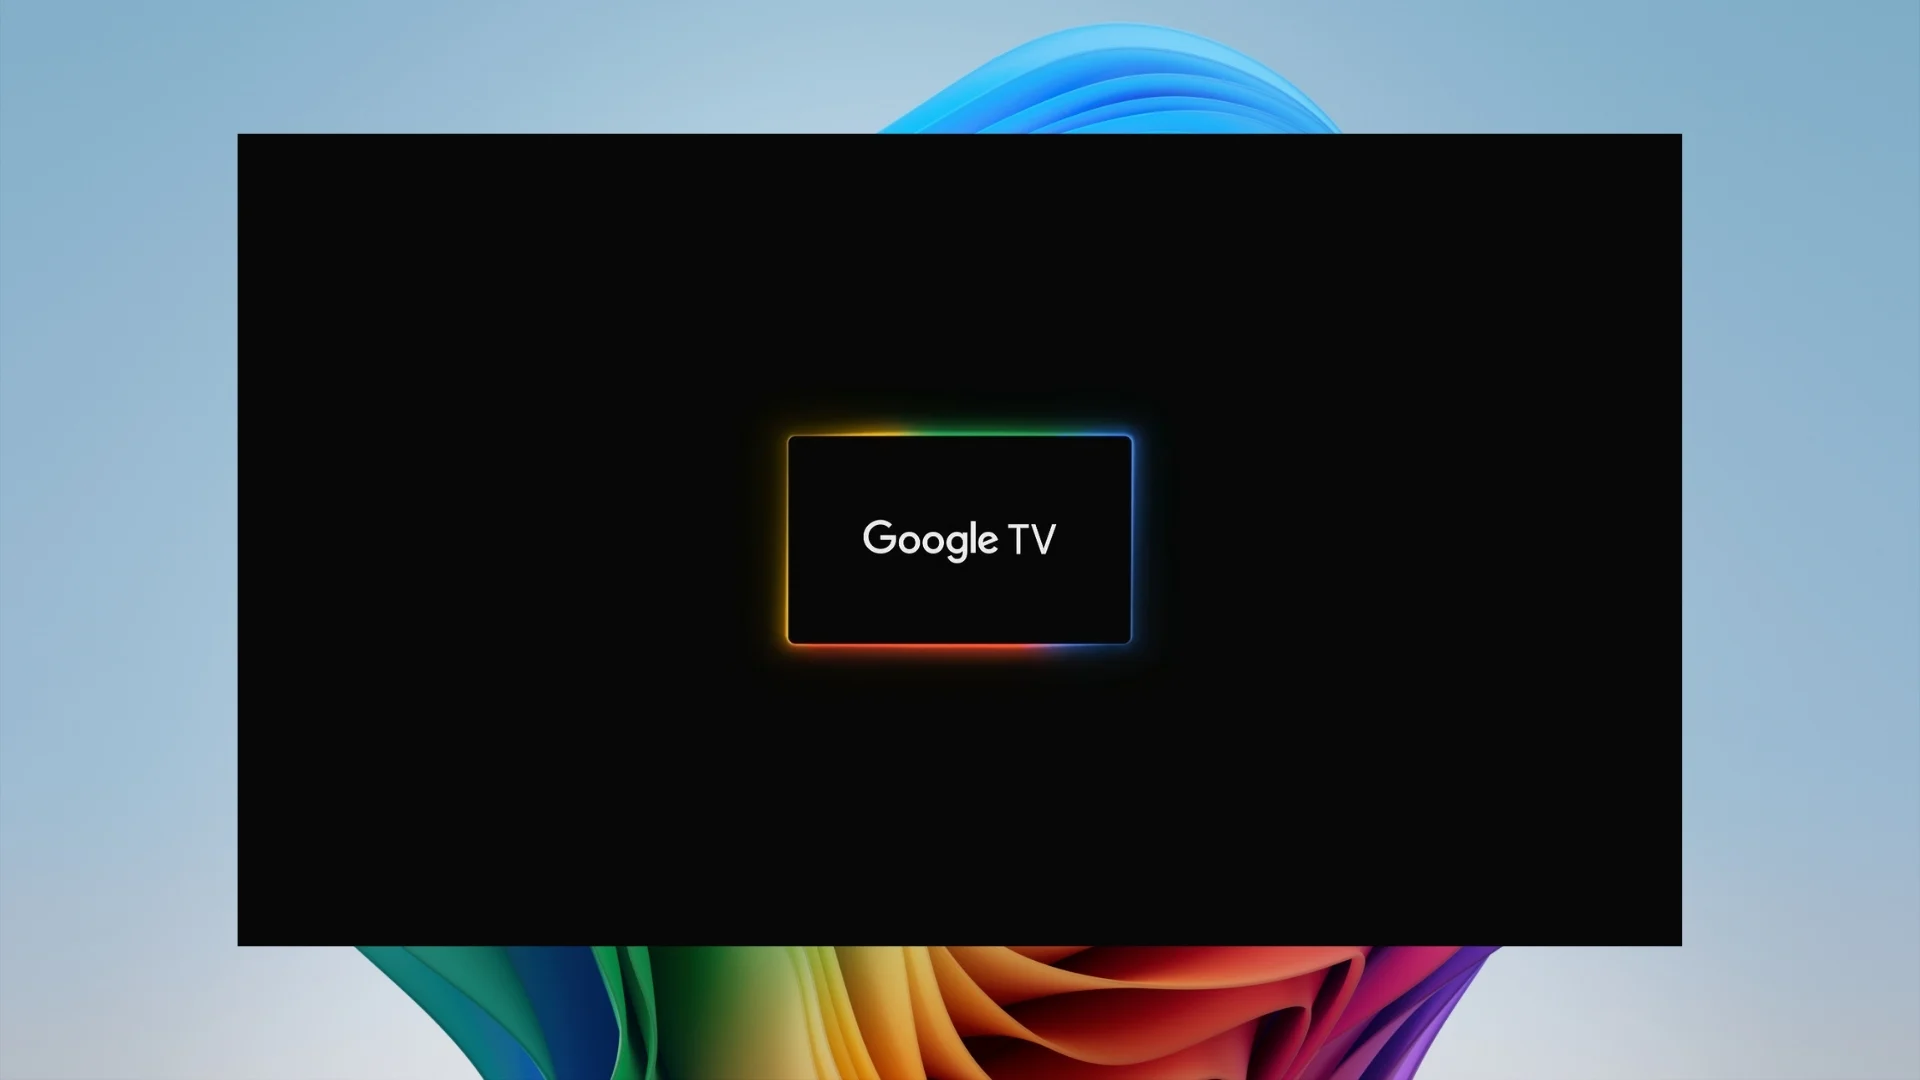
Google TV’s home interface appears once the first boot finishes loading.
- Go through the standard Google TV setup screens.
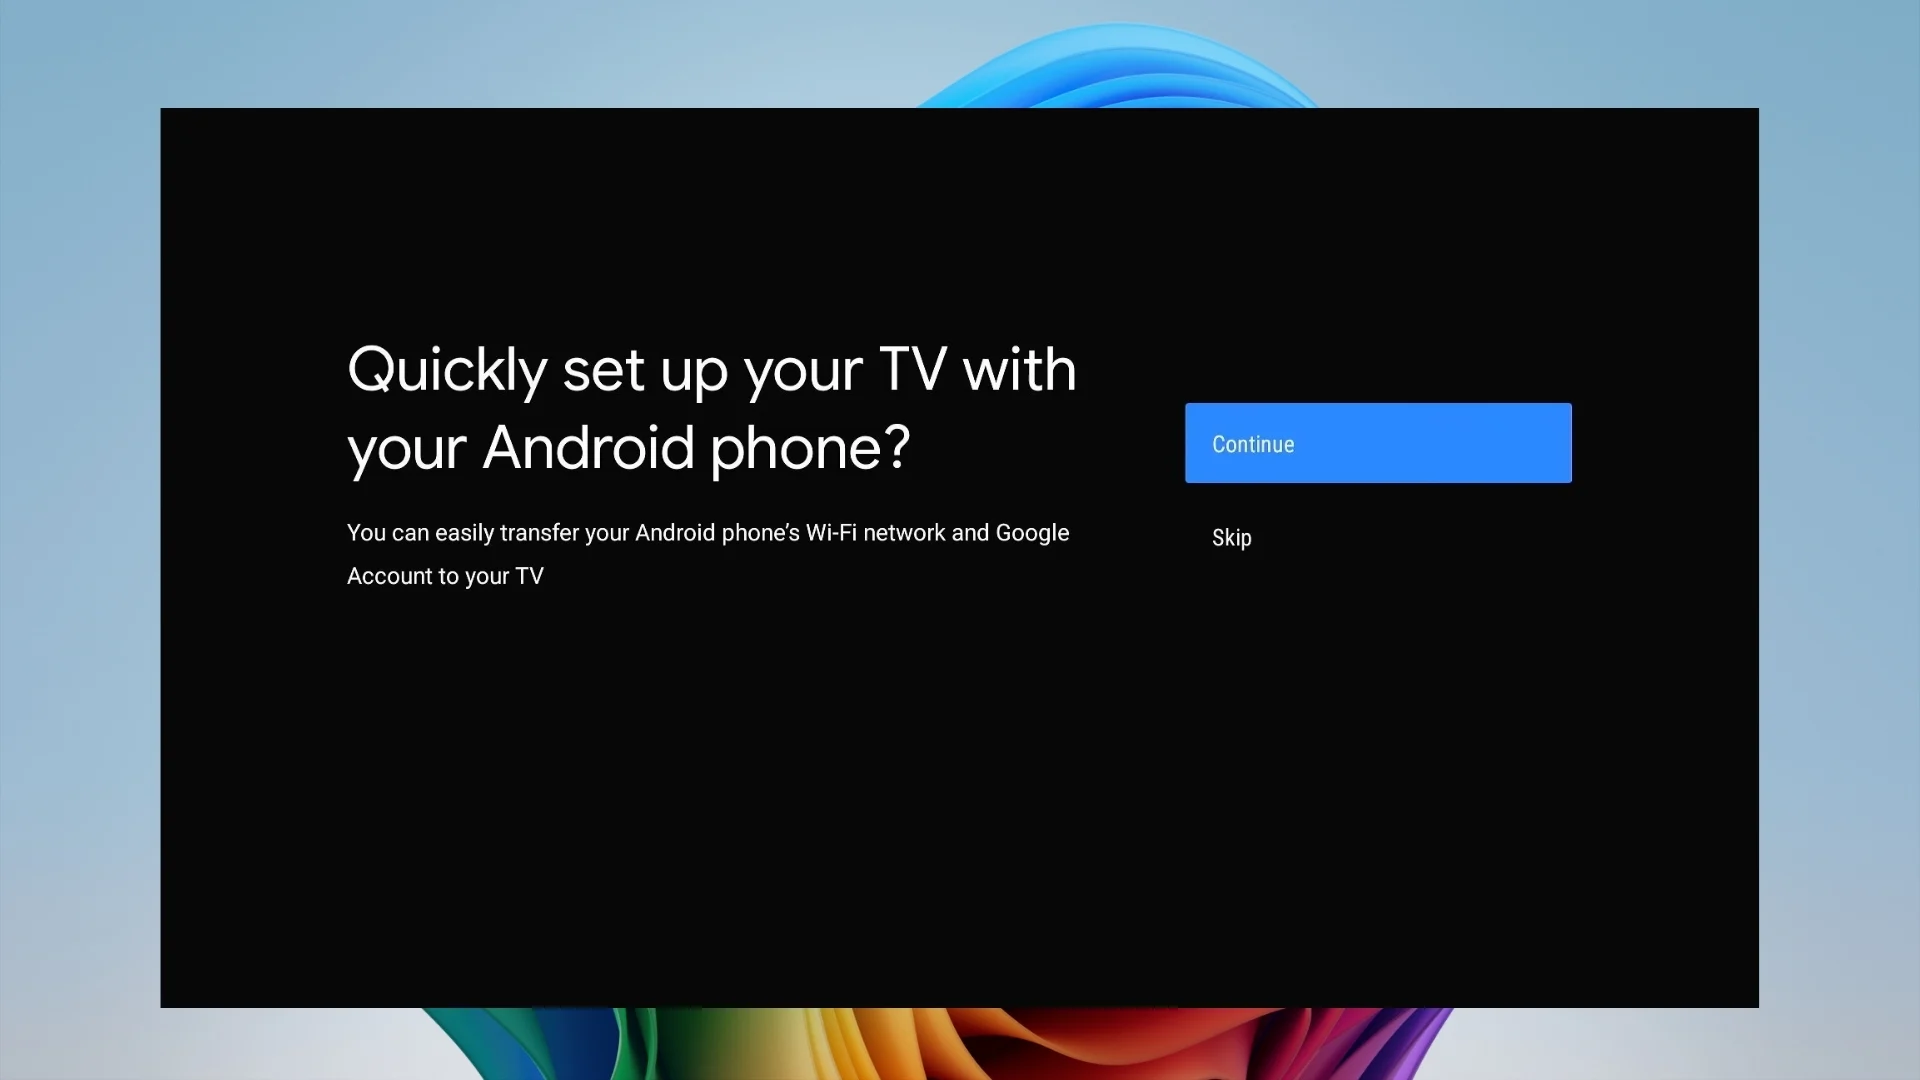
Follow the usual setup prompts just like on any Google TV device.
- Connect to Wi-Fi and sign in with your Google Account.
- Head to the Play Store and start installing your favorite apps.
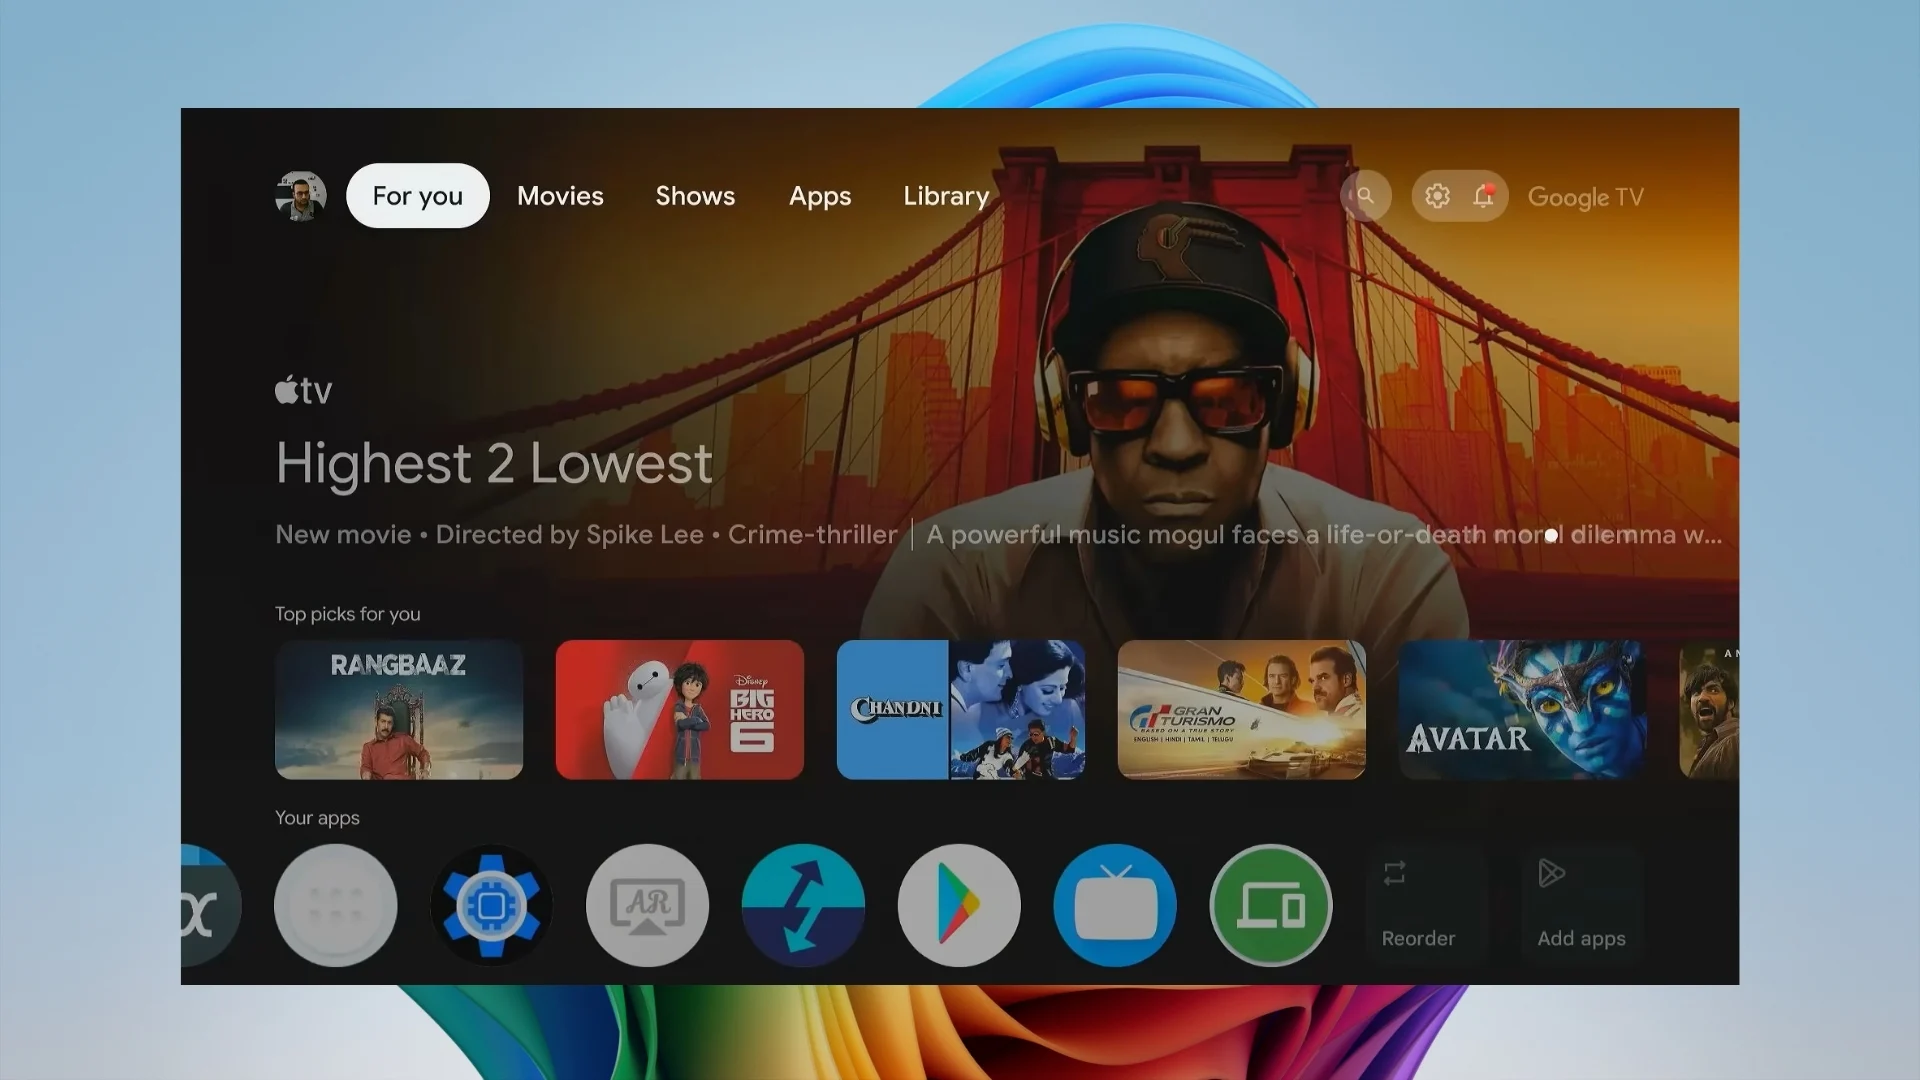
Once signed in, you’ll have plenty of exFAT storage for apps, games, and more.
Because you switched the partition to exFAT earlier, you’re not limited by FAT32’s small file-size cap — leaving plenty of room to install multiple apps and even some games on your Google TV USB drive.
6 Frequently Asked Questions
7 Conclusion
Here’s the quick recap of what it takes to get Google TV running from a USB drive:
- Step 1 — Flash the Google TV ISO onto your USB using Rufus with maximum persistence
- Step 2 — Convert the persistence partition from FAT32 to exFAT
- Step 3 — Move system.sfs and the matching data.img file onto the new partition
- Step 4 — Disable Secure Boot and boot from the USB drive
- Step 5 — Complete the Google TV setup, sign in, and start installing apps
Once it’s all set up, you’ll have a portable Google TV stick that carries your apps, sign-ins, and preferences with you — ready to plug into virtually any compatible screen wherever you go.
📺 Ready to Build Your Portable Google TV?
Grab a USB drive, download Rufus, and follow the five steps above to get started today.